Step-by-Step Process of Refinishing Kitchen Cabinets
If you're considering refinishing your kitchen cabinets, you're in for a rewarding project. You'll need to prepare your space and gather essential supplies first. Removing the cabinet doors and hardware is your next step, but it's crucial to label everything for easy reassembly later. Once you've cleaned and sanded the surfaces, you'll apply primer and paint or stain. But there's more to the process that can make or break your results.
Preparing Your Kitchen and Gathering Supplies
Before you dive into refinishing your kitchen cabinets, it's essential to prepare your space and gather the right supplies.
Start by clearing out the kitchen, removing all items from countertops and cabinets. This'll give you ample room to work without distractions.
Next, make sure you have a drop cloth or plastic sheeting to protect your floors. You'll need sandpaper, a paintbrush, wood primer, and your chosen paint or stain.
Don't forget a good-quality sealer to finish the job. A mask and goggles are crucial for safety, especially when sanding or using strong chemicals.
Removing Cabinet Doors and Hardware
Start by carefully unhinging the cabinet doors and removing all hardware, including knobs and hinges. Use a screwdriver to loosen the screws; make sure to keep them in a labeled bag for easy reassembly later.
If your cabinets have multiple doors, work methodically, removing one door at a time to avoid confusion. As you detach each door, support it to prevent it from swinging or falling. If you encounter stubborn screws, a bit of penetrating oil can help.
Once all doors are off, proceed to remove the hardware from the doors themselves. This step ensures you'll have a clean workspace for refinishing.
With everything removed, you're ready to tackle the next phase of your cabinet refinishing project!
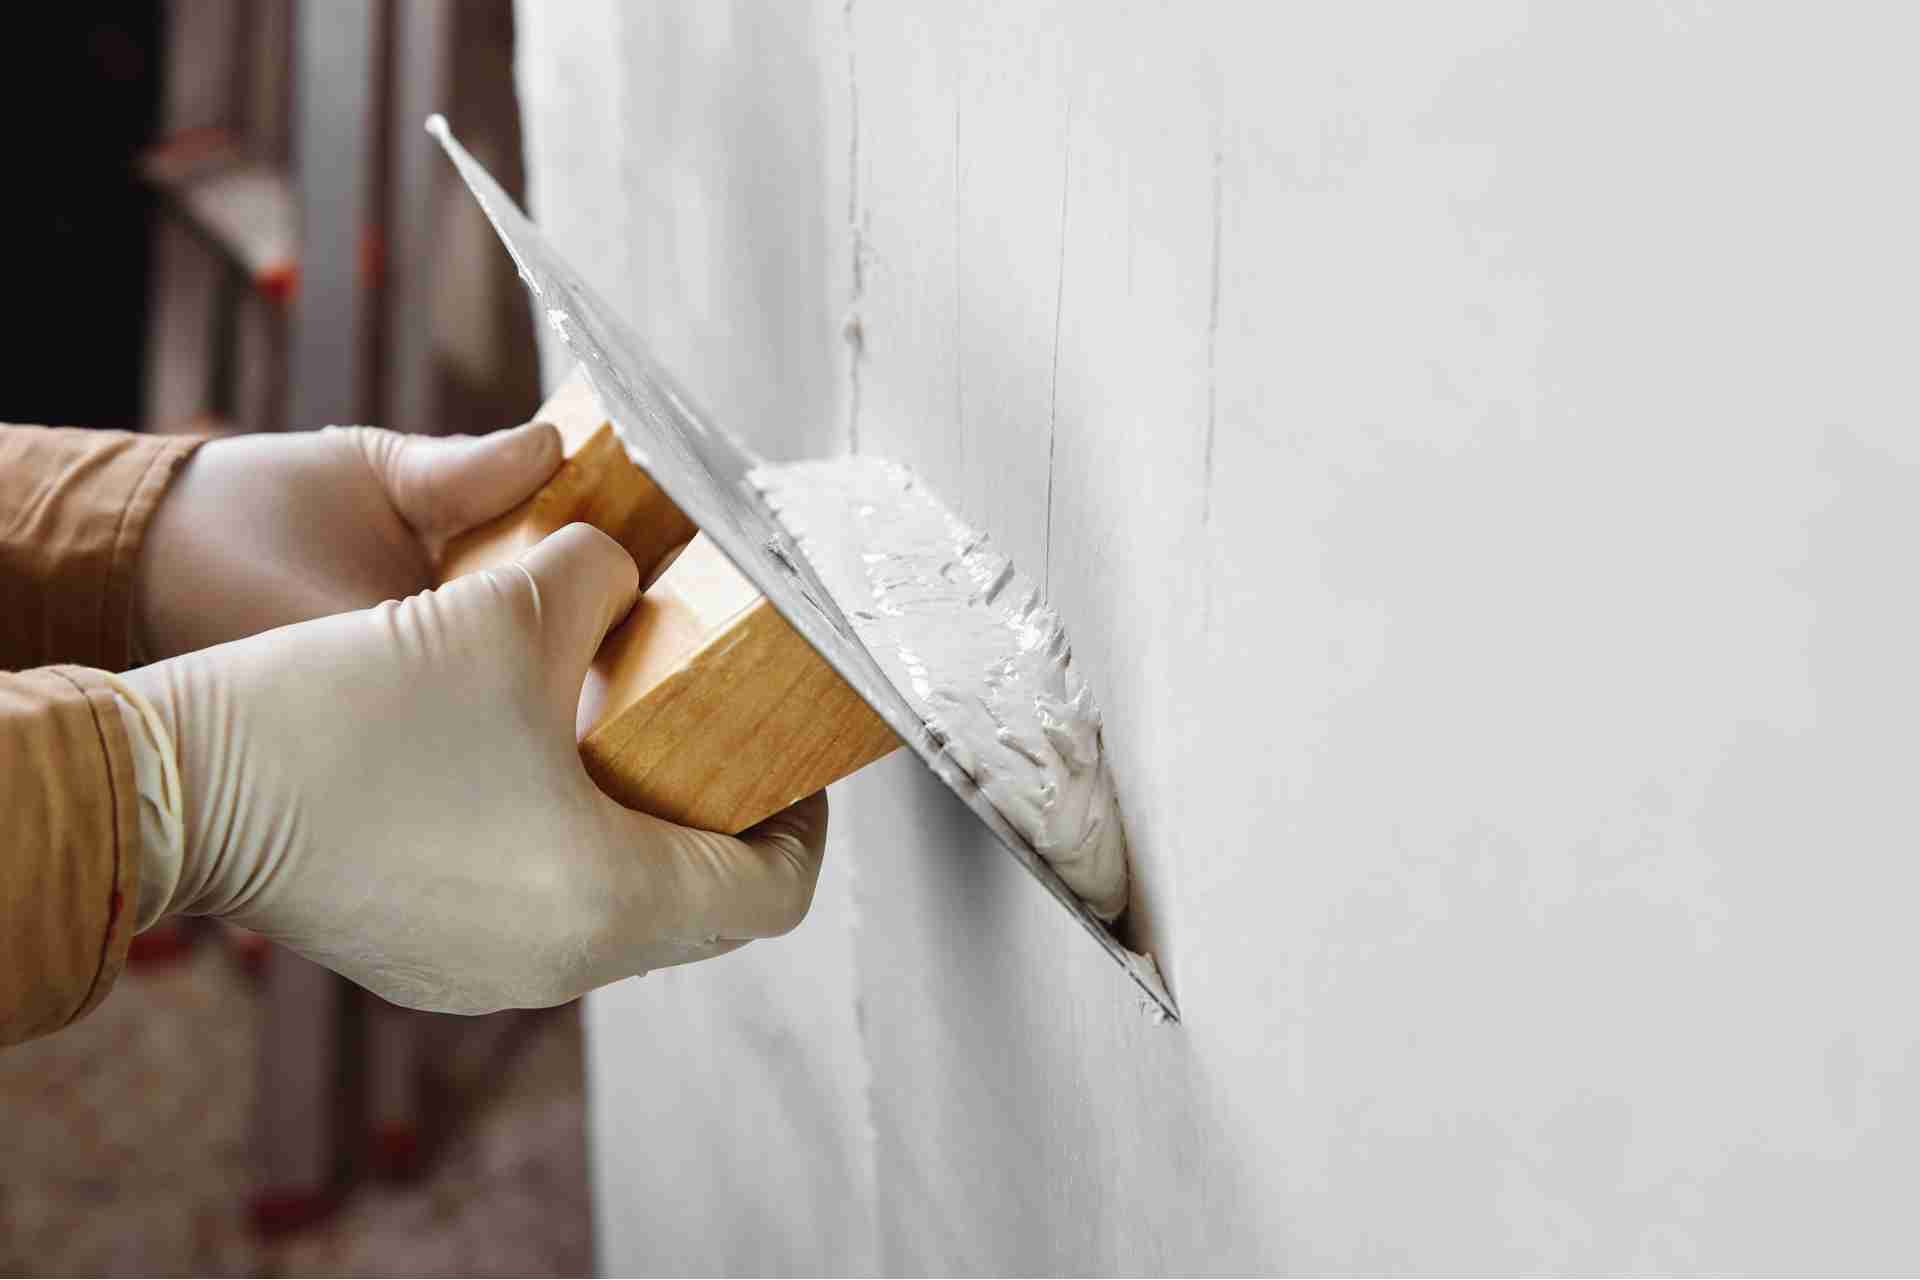
Cleaning and Sanding the Cabinets
With the cabinet doors and hardware safely removed, it's time to clean and sand the cabinets to prepare them for refinishing.
Start by wiping down the surfaces with a mixture of warm water and mild detergent. This helps remove grease, dirt, and any lingering residue. Once the cabinets are clean, rinse them thoroughly and let them dry completely.
Next, grab some sandpaper—120 to 220 grit works well. Sand the surfaces to scuff them up, which helps the new finish adhere better. Pay special attention to corners and edges.
If there are any old paint drips or rough spots, sand those down carefully. After sanding, use a tack cloth to remove dust and debris.
Now you're ready for the next step!
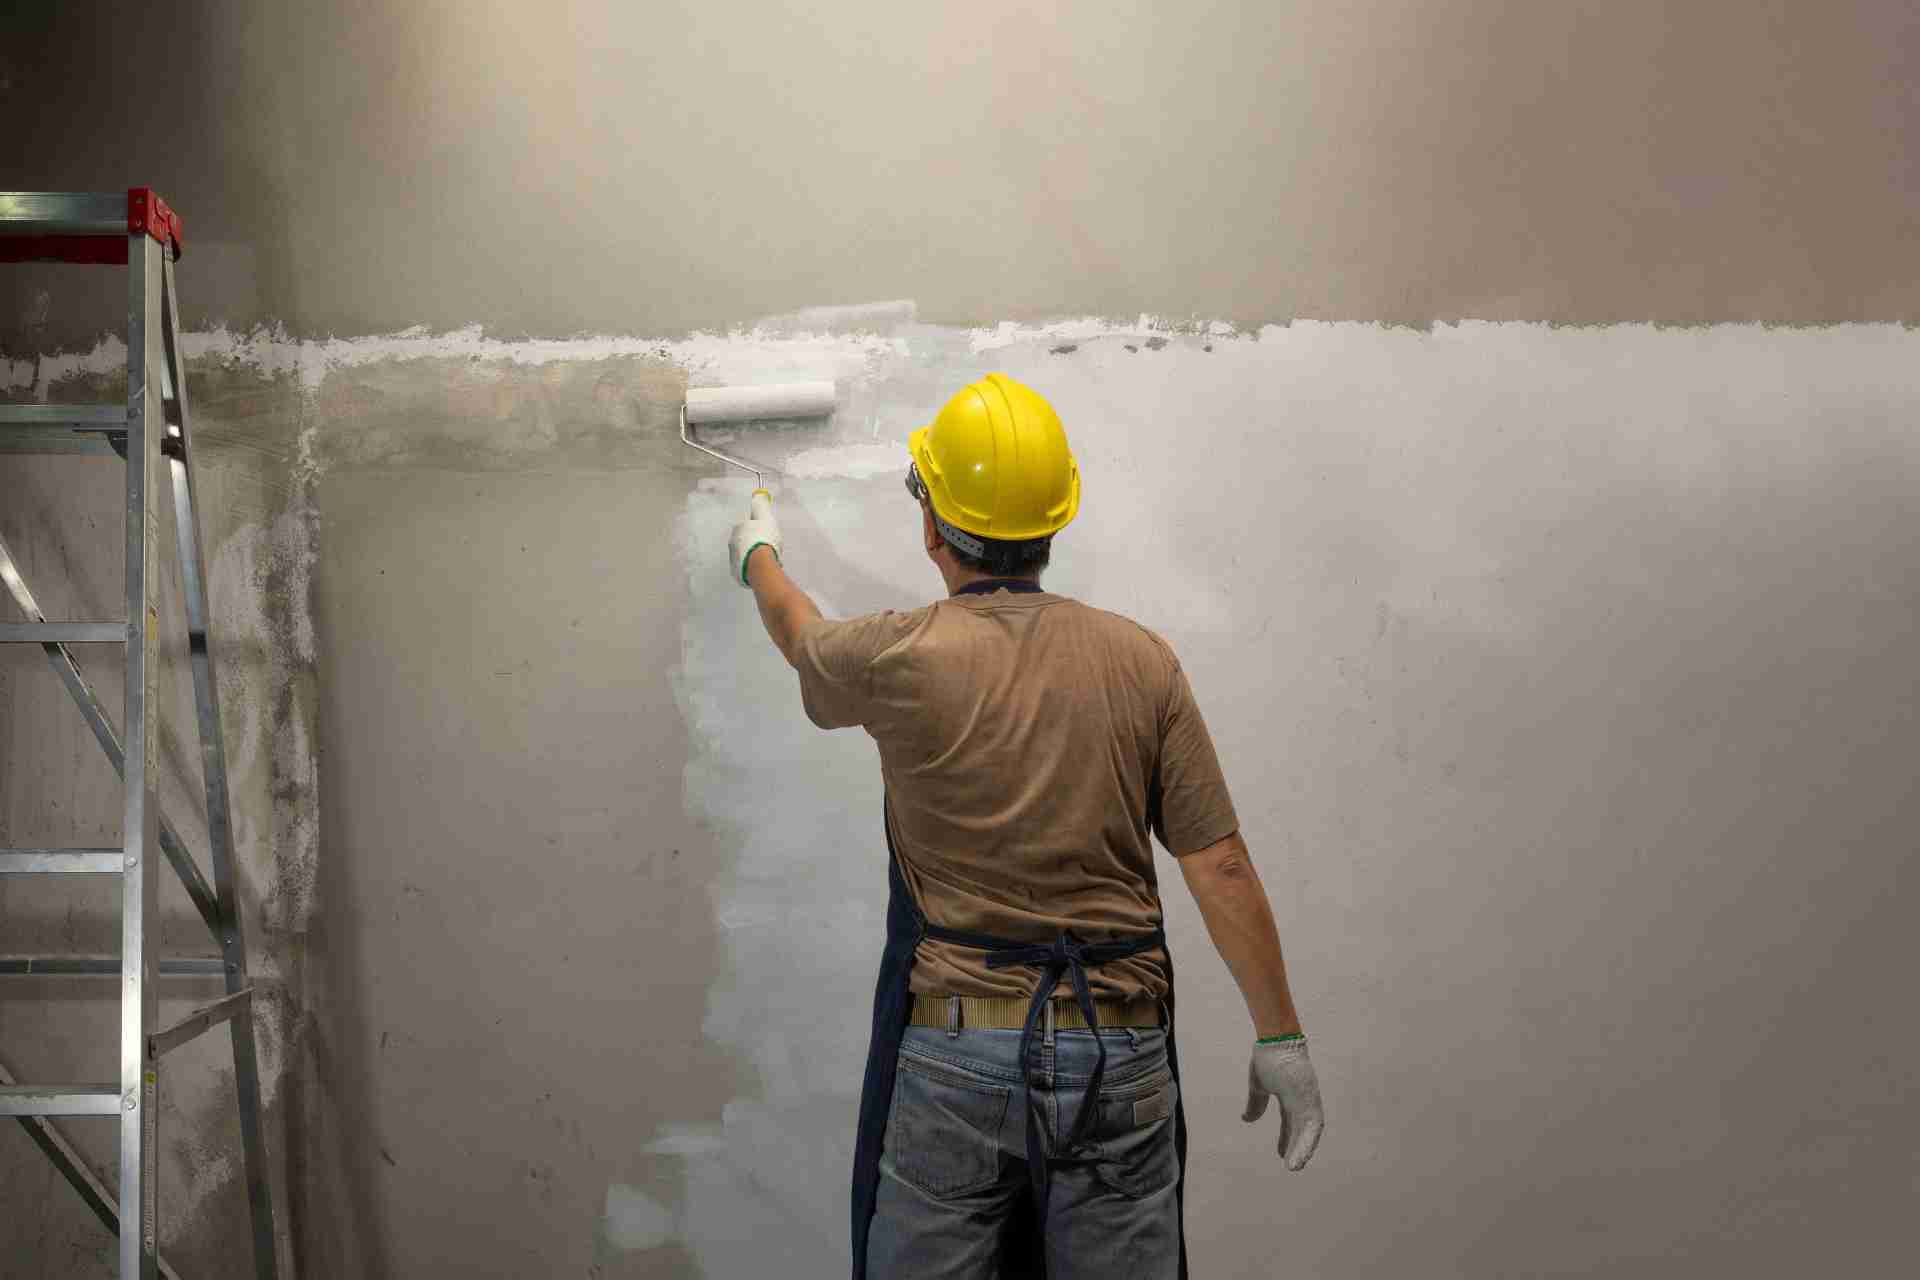
Applying Primer and Paint/Stain
Now that your cabinets are clean and sanded, it's time to apply primer and paint or stain. Start by choosing a high-quality primer suited for your cabinet material.
Using a paintbrush or roller, apply a thin, even coat of primer, ensuring you cover all surfaces, including edges and corners. Allow the primer to dry completely, following the manufacturer's instructions.
Once the primer is dry, it's time for the paint or stain. If you're painting, choose a durable latex or oil-based paint. For staining, select a stain that complements your desired finish.
Apply the paint or stain in thin layers, allowing each coat to dry before adding another. This will ensure a smooth, professional-looking finish.
Reassembling and Reinstalling Cabinet Doors
After the primer and paint or stain have fully dried, it's time to reassemble and reinstall the cabinet doors.
Start by locating your hinges and screws, ensuring they're clean and in good condition. Align each door with the corresponding hinge, attaching them securely.
Make sure the doors open and close smoothly without any obstruction. If you removed any knobs or handles, now's the time to reattach them, ensuring they're straight and securely fastened.
Adjust the hinges if necessary, so the doors hang evenly. Once everything's in place, step back and check the alignment, making any final tweaks.
With the doors back on, you've made significant progress in your kitchen cabinet refinishing project!
Finishing Touches and Final Cleanup
As you wrap up your kitchen cabinet refinishing project, don't overlook the importance of the finishing touches and final cleanup.
First, inspect each cabinet door and drawer for any missed spots or imperfections. Touch up as needed with your paint or stain.
Next, reattach hardware like knobs and handles, ensuring they're aligned and secure.
Once everything looks polished, focus on cleaning the workspace. Wipe down any dust or debris from the cabinets using a damp cloth.
Finally, sweep or vacuum the area to remove any leftover particles. Allow the cabinets to cure fully before placing items back inside.
These last steps will ensure your refinished cabinets not only look great but also last for years to come.
Conclusion
Refinishing your kitchen cabinets can breathe new life into your space and is a rewarding DIY project. By following these steps, you've transformed old cabinets into beautiful, refreshed ones. Remember to take your time during each stage for the best results, and don't rush the drying process. Once everything is reassembled and cleaned up, step back and admire your hard work. You've not only improved your kitchen's appearance but also gained valuable skills along the way!