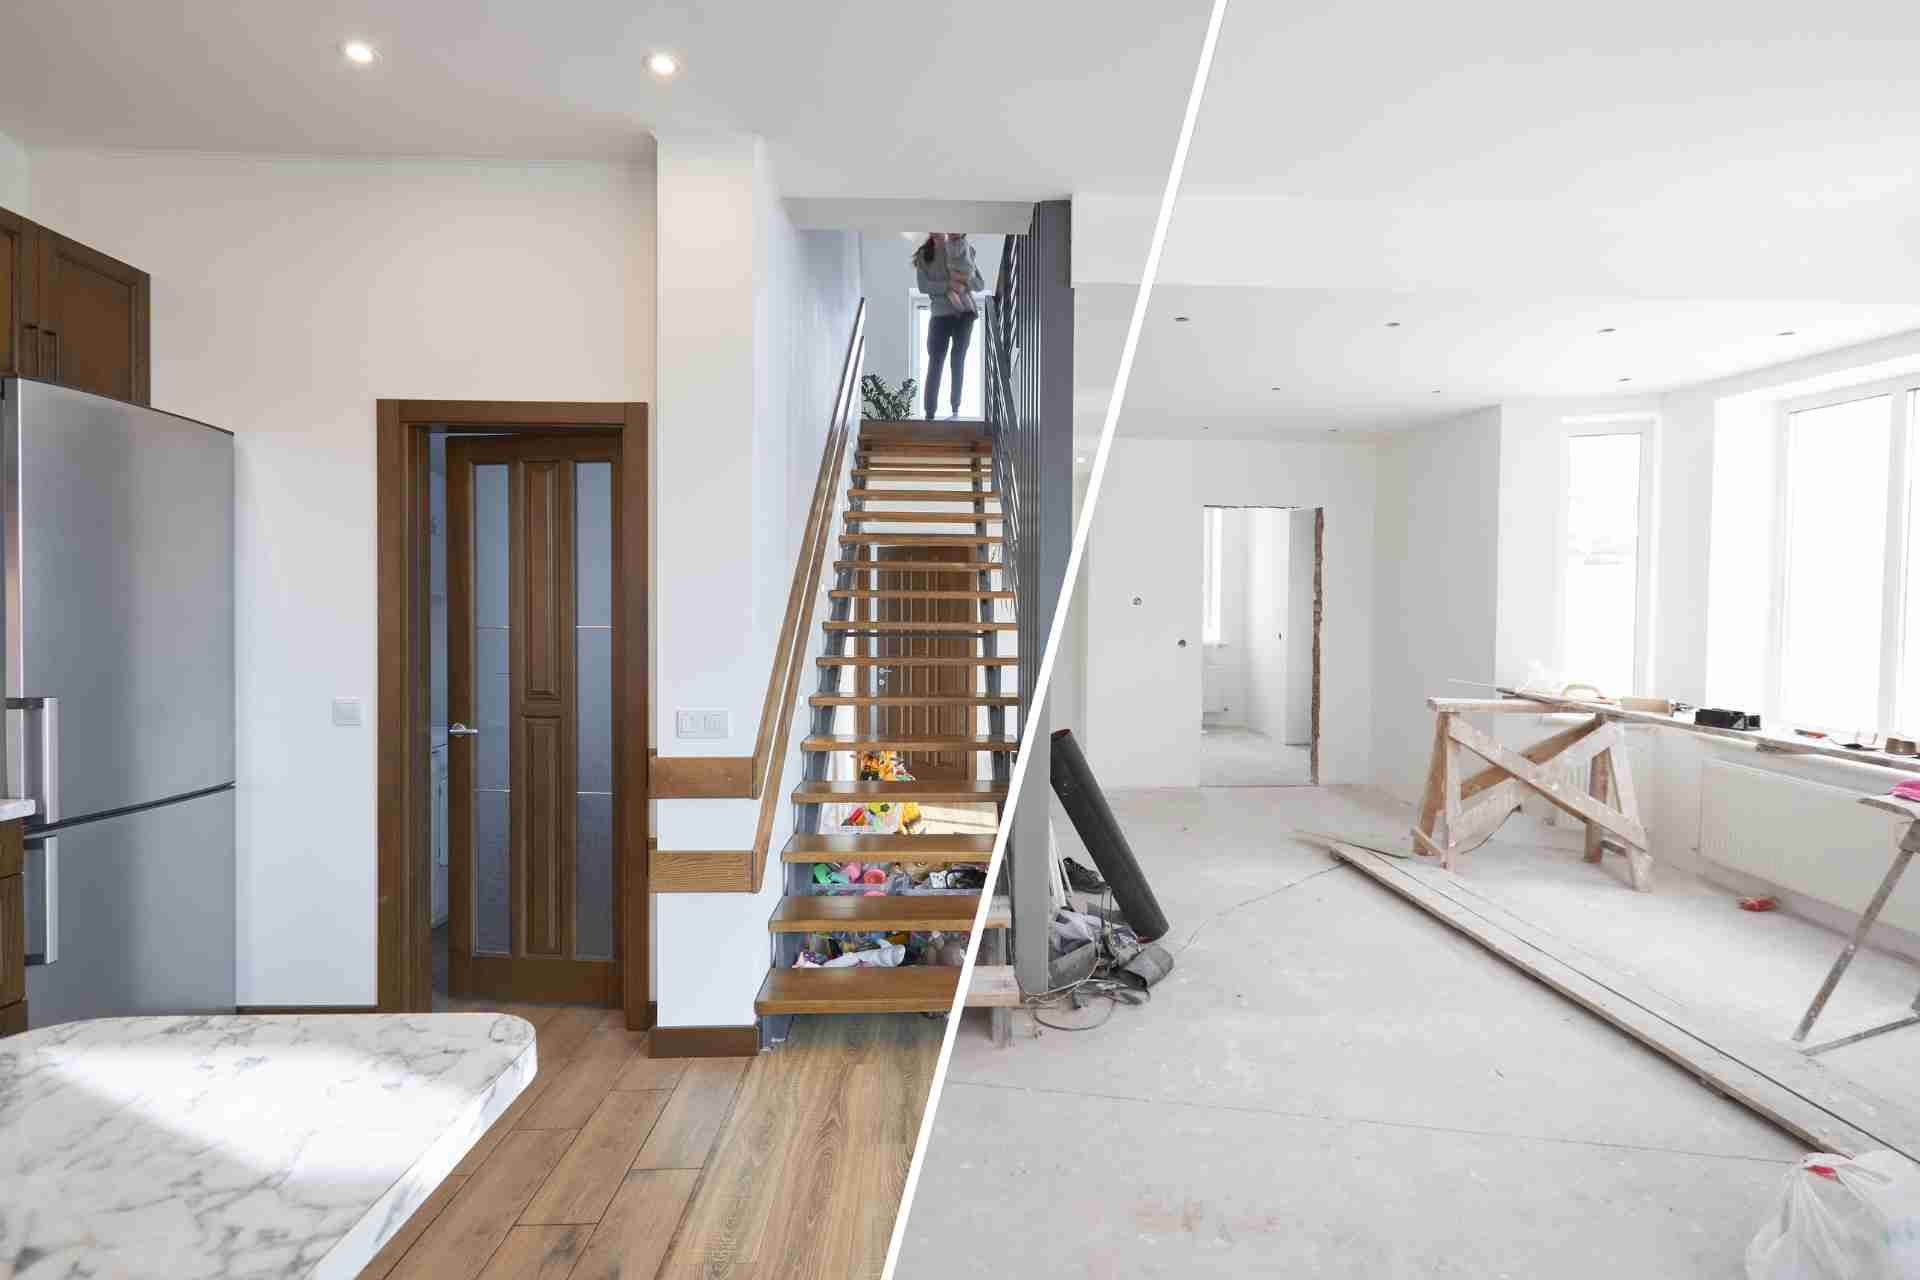
How to Touch Up Interior Paint?
When it comes to touching up interior paint, knowing where to start can make all the difference. You'll want to assess the damage first, identifying scuffs or chips that need attention. Gathering the right supplies is crucial too, especially if you want a seamless finish. As you prepare to tackle this task, consider the nuances of blending new paint with the old. There are a few key steps you won't want to overlook.
Assessing the Damage
Before you grab your paintbrush, it's essential to assess the damage to your walls. Start by examining the surface for scuffs, scratches, or chips.
Pay close attention to high-traffic areas, like hallways and around door frames, where wear and tear are common. Use your fingers to feel for any rough spots or peeling paint, which can indicate deeper issues.
Don’t forget to check for water stains or discoloration that may signal moisture problems. Take note of the paint finish—whether it's matte, eggshell, or satin—since this will guide your touch-up efforts.
Gathering Your Supplies
To successfully touch up your interior paint, you’ll need to gather a few essential supplies.
Start with the right paint. If you have leftover paint from the original job, that’s ideal. If not, try to find a matching color at your local hardware store.
You’ll also need a small paintbrush or a touch-up sponge for precise application. A small roller can work if you're covering a larger area.
Don't forget a paint tray to hold your paint. Grab some painter’s tape to protect adjacent surfaces and a drop cloth to catch any drips.
Lastly, keep a clean cloth handy for any accidental spills. With these supplies in hand, you're ready to begin the touch-up process!
Preparing the Area
Once you've gathered your supplies, it's time to prepare the area for painting.
Start by moving furniture away from the walls to create a clear workspace. If you can’t move larger items, cover them with drop cloths to protect against splatters.
Next, lay down a drop cloth on the floor to catch any drips. Remove any wall hangings, light switch covers, and outlet covers for a clean finish.
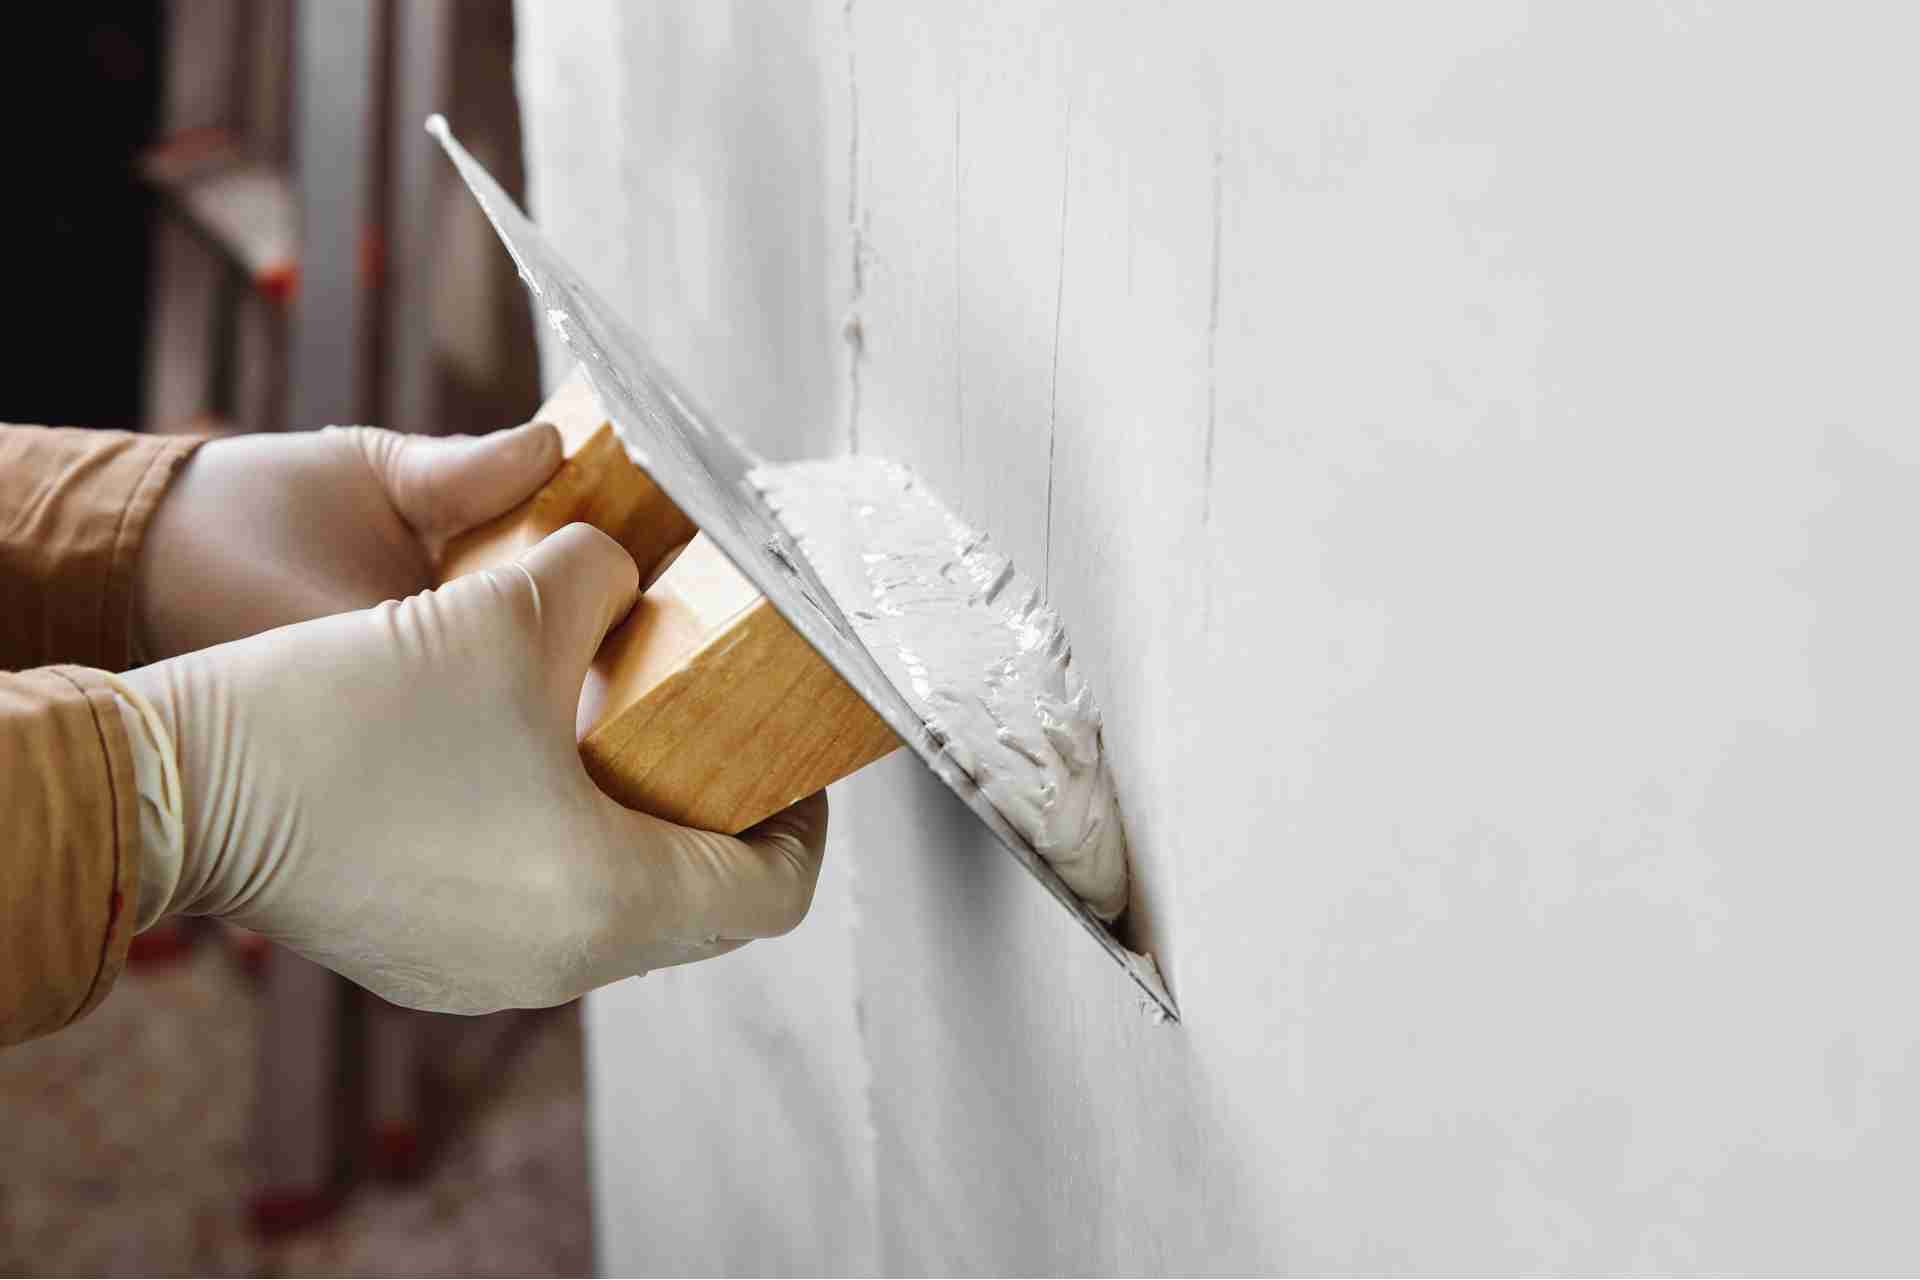
Clean the walls gently with a damp cloth to remove dust and grime—this helps the paint adhere better. If you notice any holes or cracks, fill them with spackle and sand them smooth once dry.
With the area prepped, you’re ready to start touching up those paint spots!
Choosing the Right Paint
With the area prepped and ready, the next step is selecting the right paint for your touch-up job.
Start by checking the original paint can for color codes or names. If you can’t find it, bring a small paint chip to your local hardware store for color matching.
Consider the paint finish as well; it should match the sheen of your walls, whether it’s matte, eggshell, satin, or semi-gloss.
For the best results, opt for the same brand and type of paint used initially, as different formulations can lead to mismatched textures or colors.
If your walls experience a lot of wear, a durable paint can help ensure your touch-ups last longer.
Choose wisely, and you’ll achieve a seamless repair.
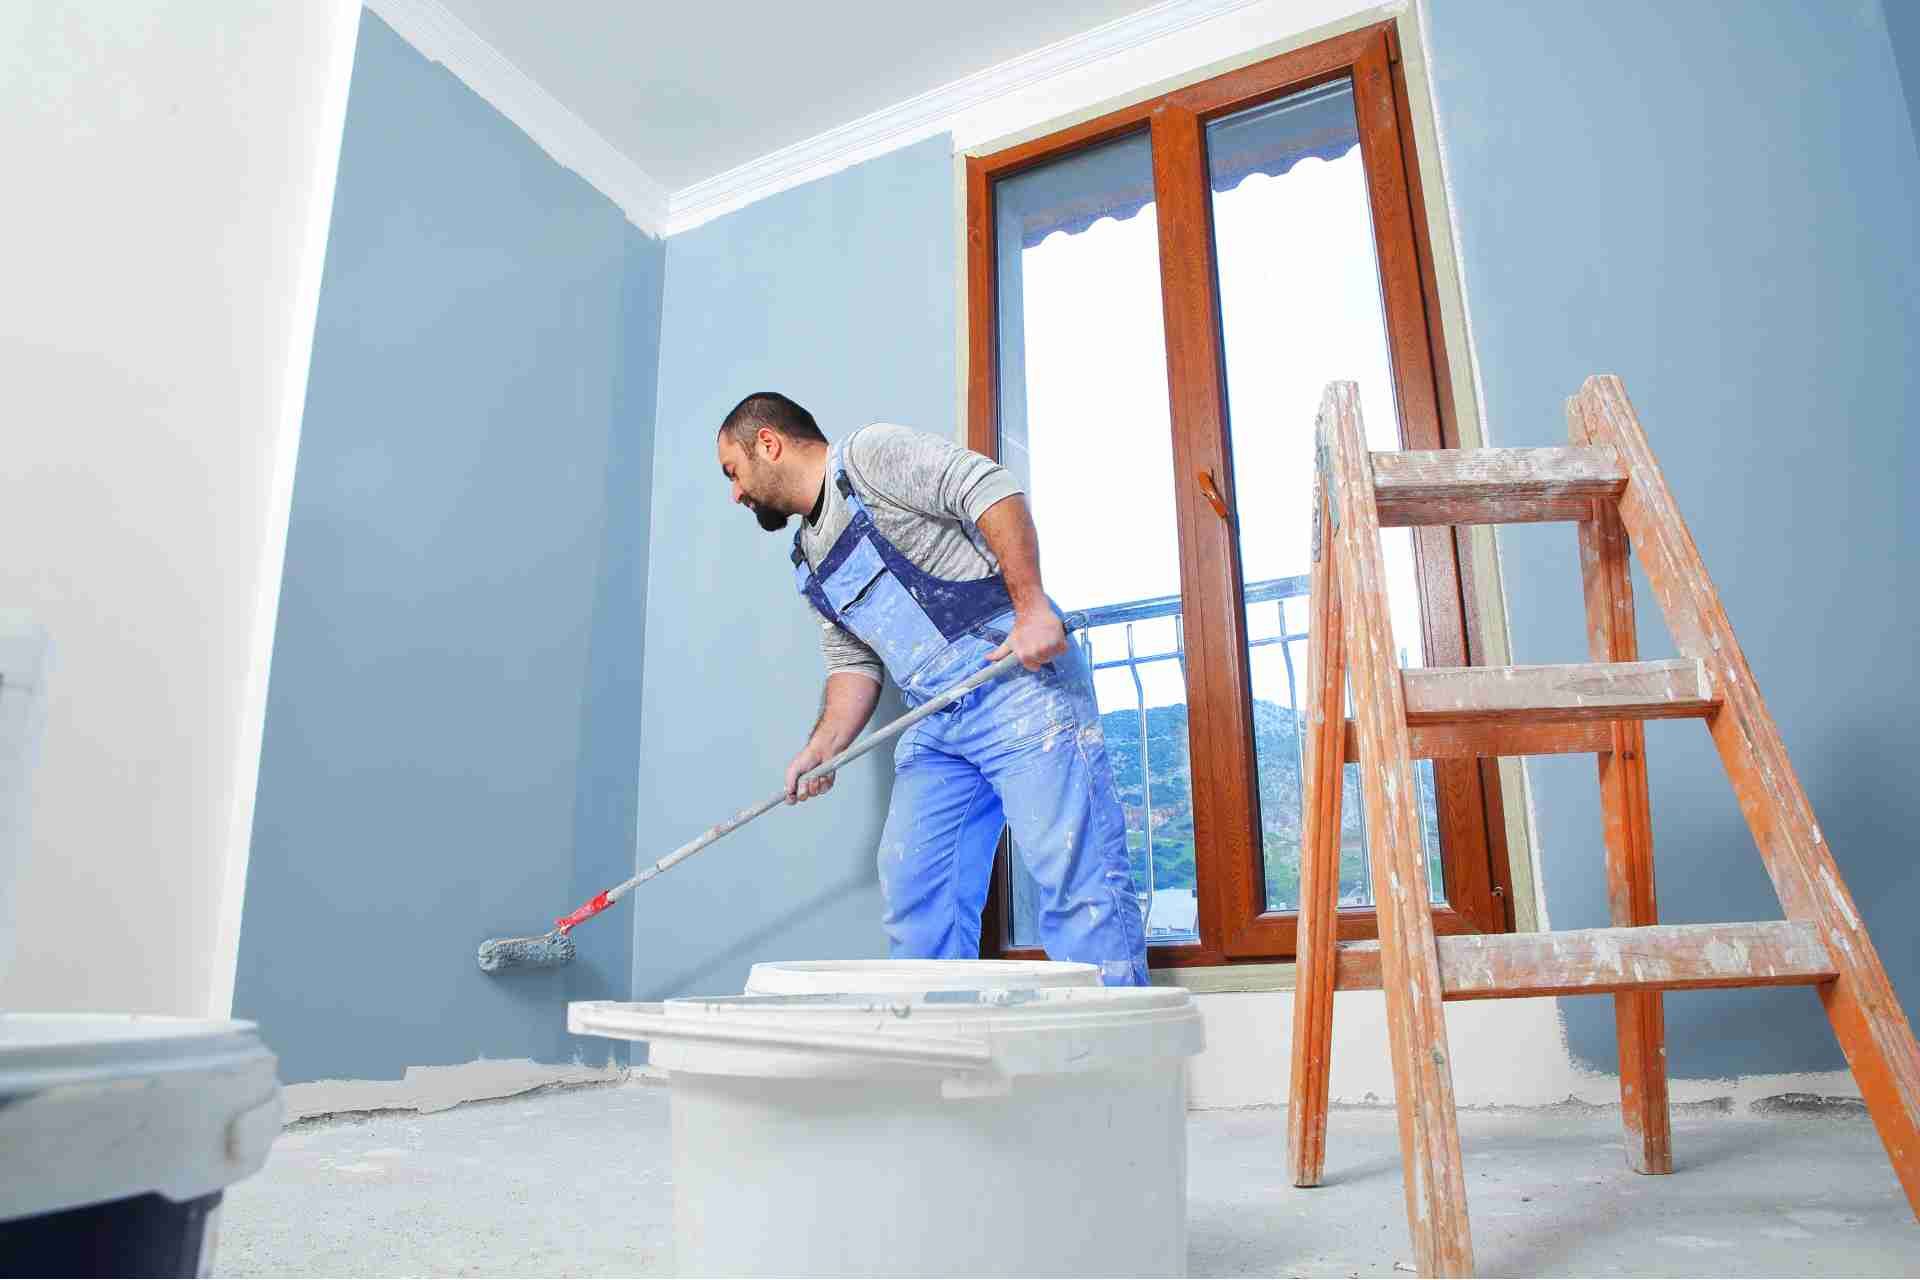
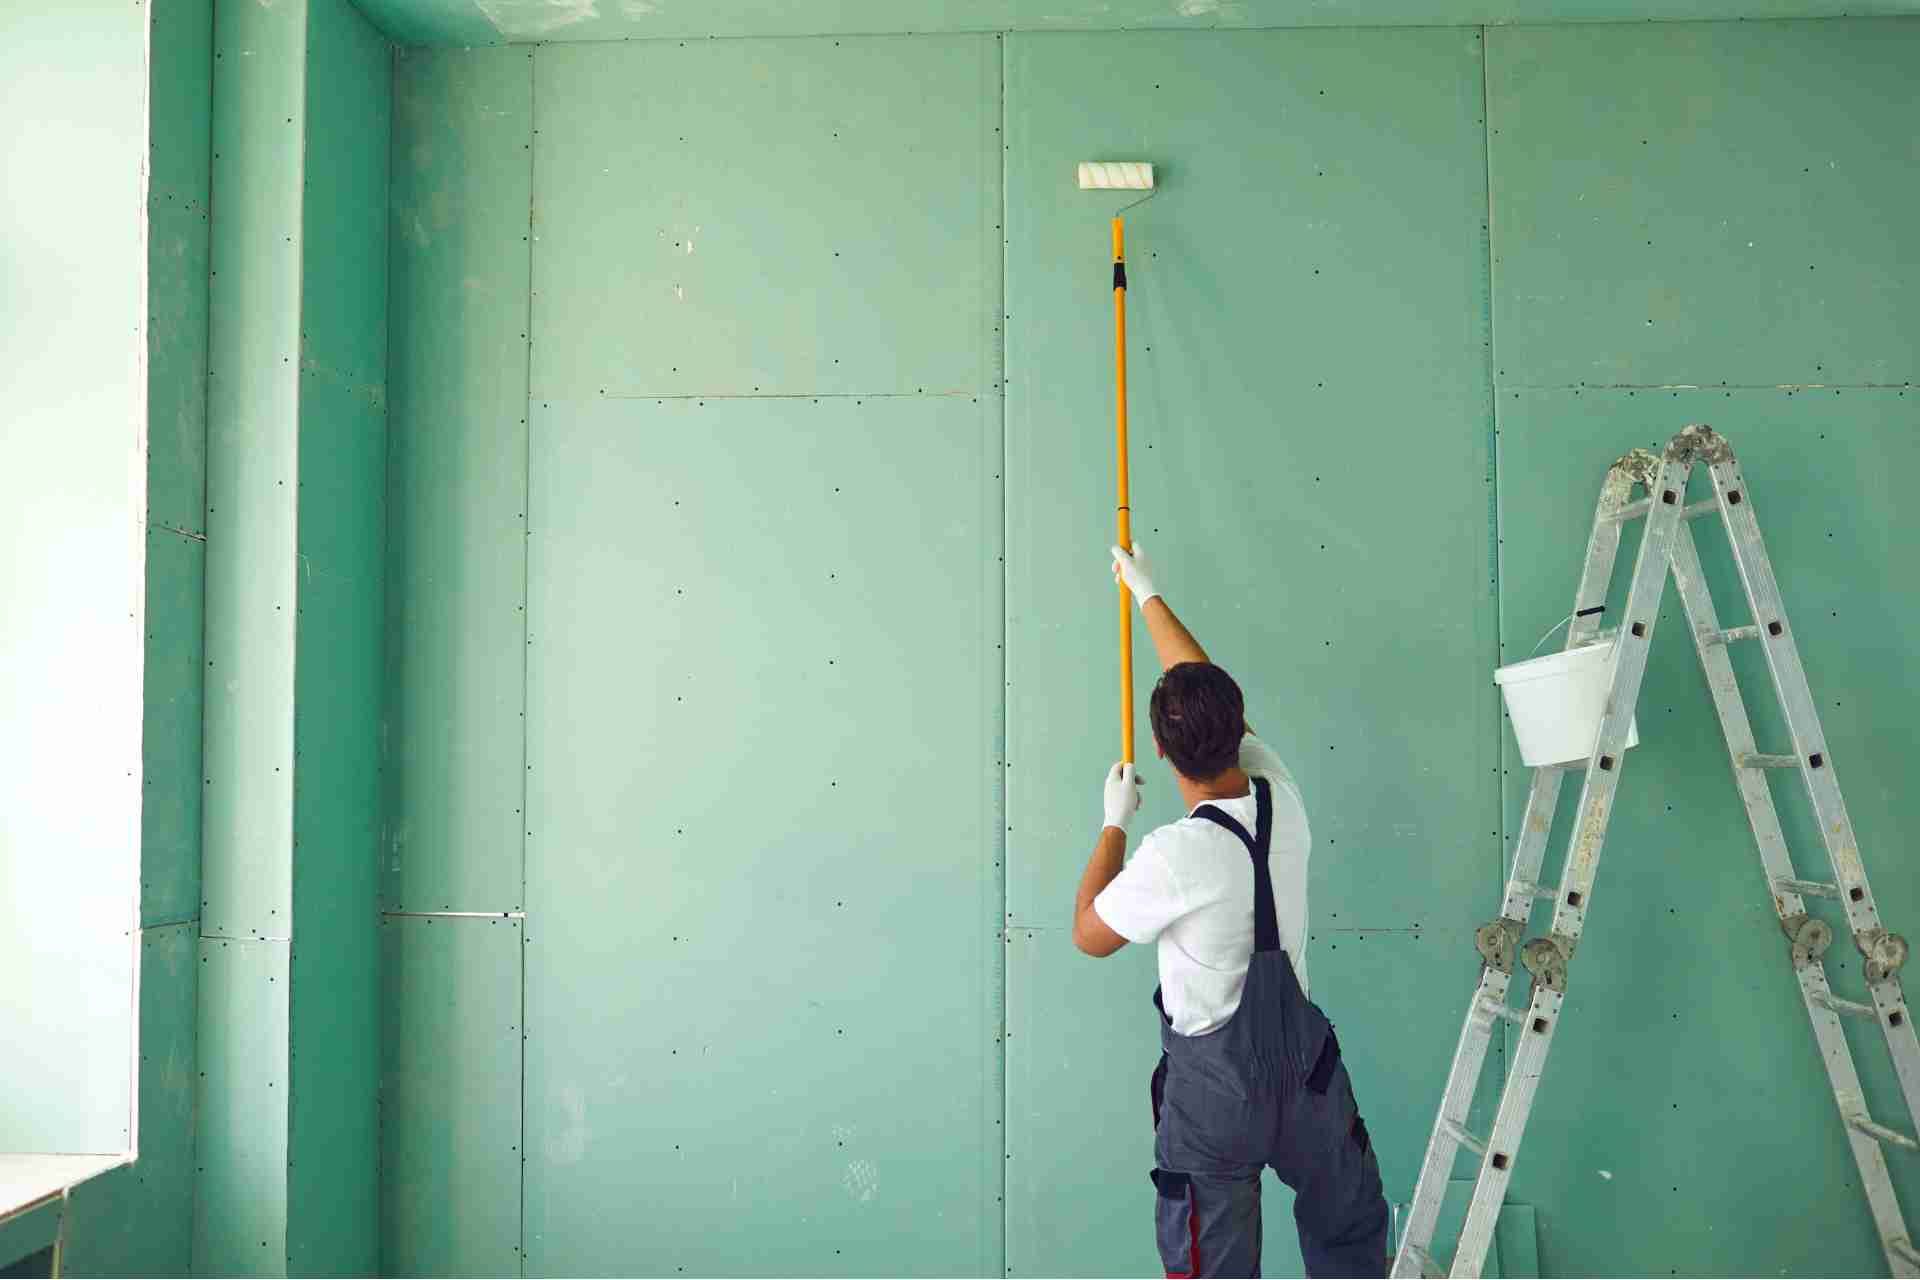
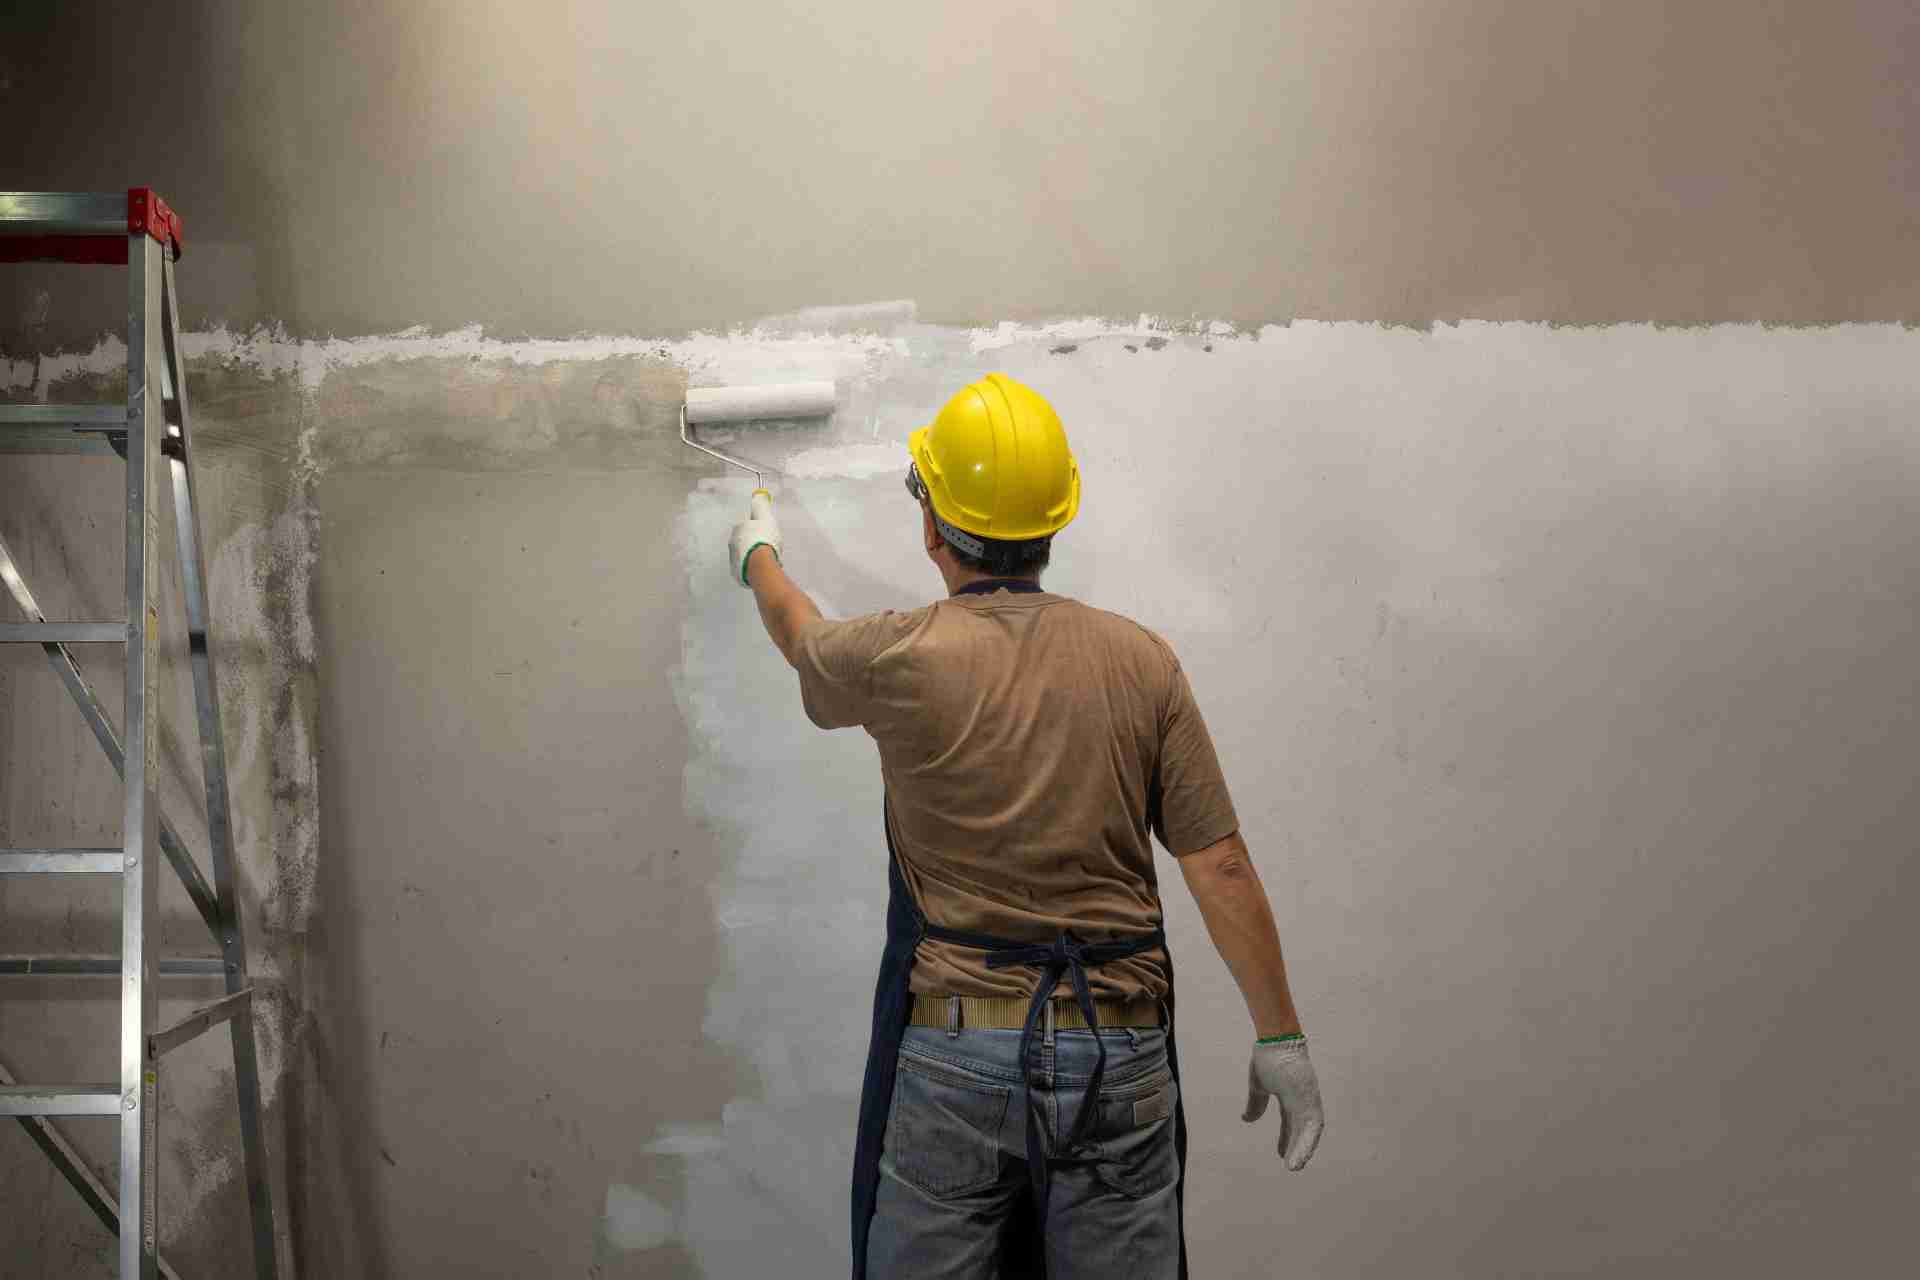
Applying the Touch-Up Paint
As you prepare to apply the touch-up paint, make sure your tools are ready and your workspace is clean.
Grab a high-quality paintbrush or roller, depending on the size of the area you're touching up. Dip your brush or roller into the paint, ensuring you don’t overload it.
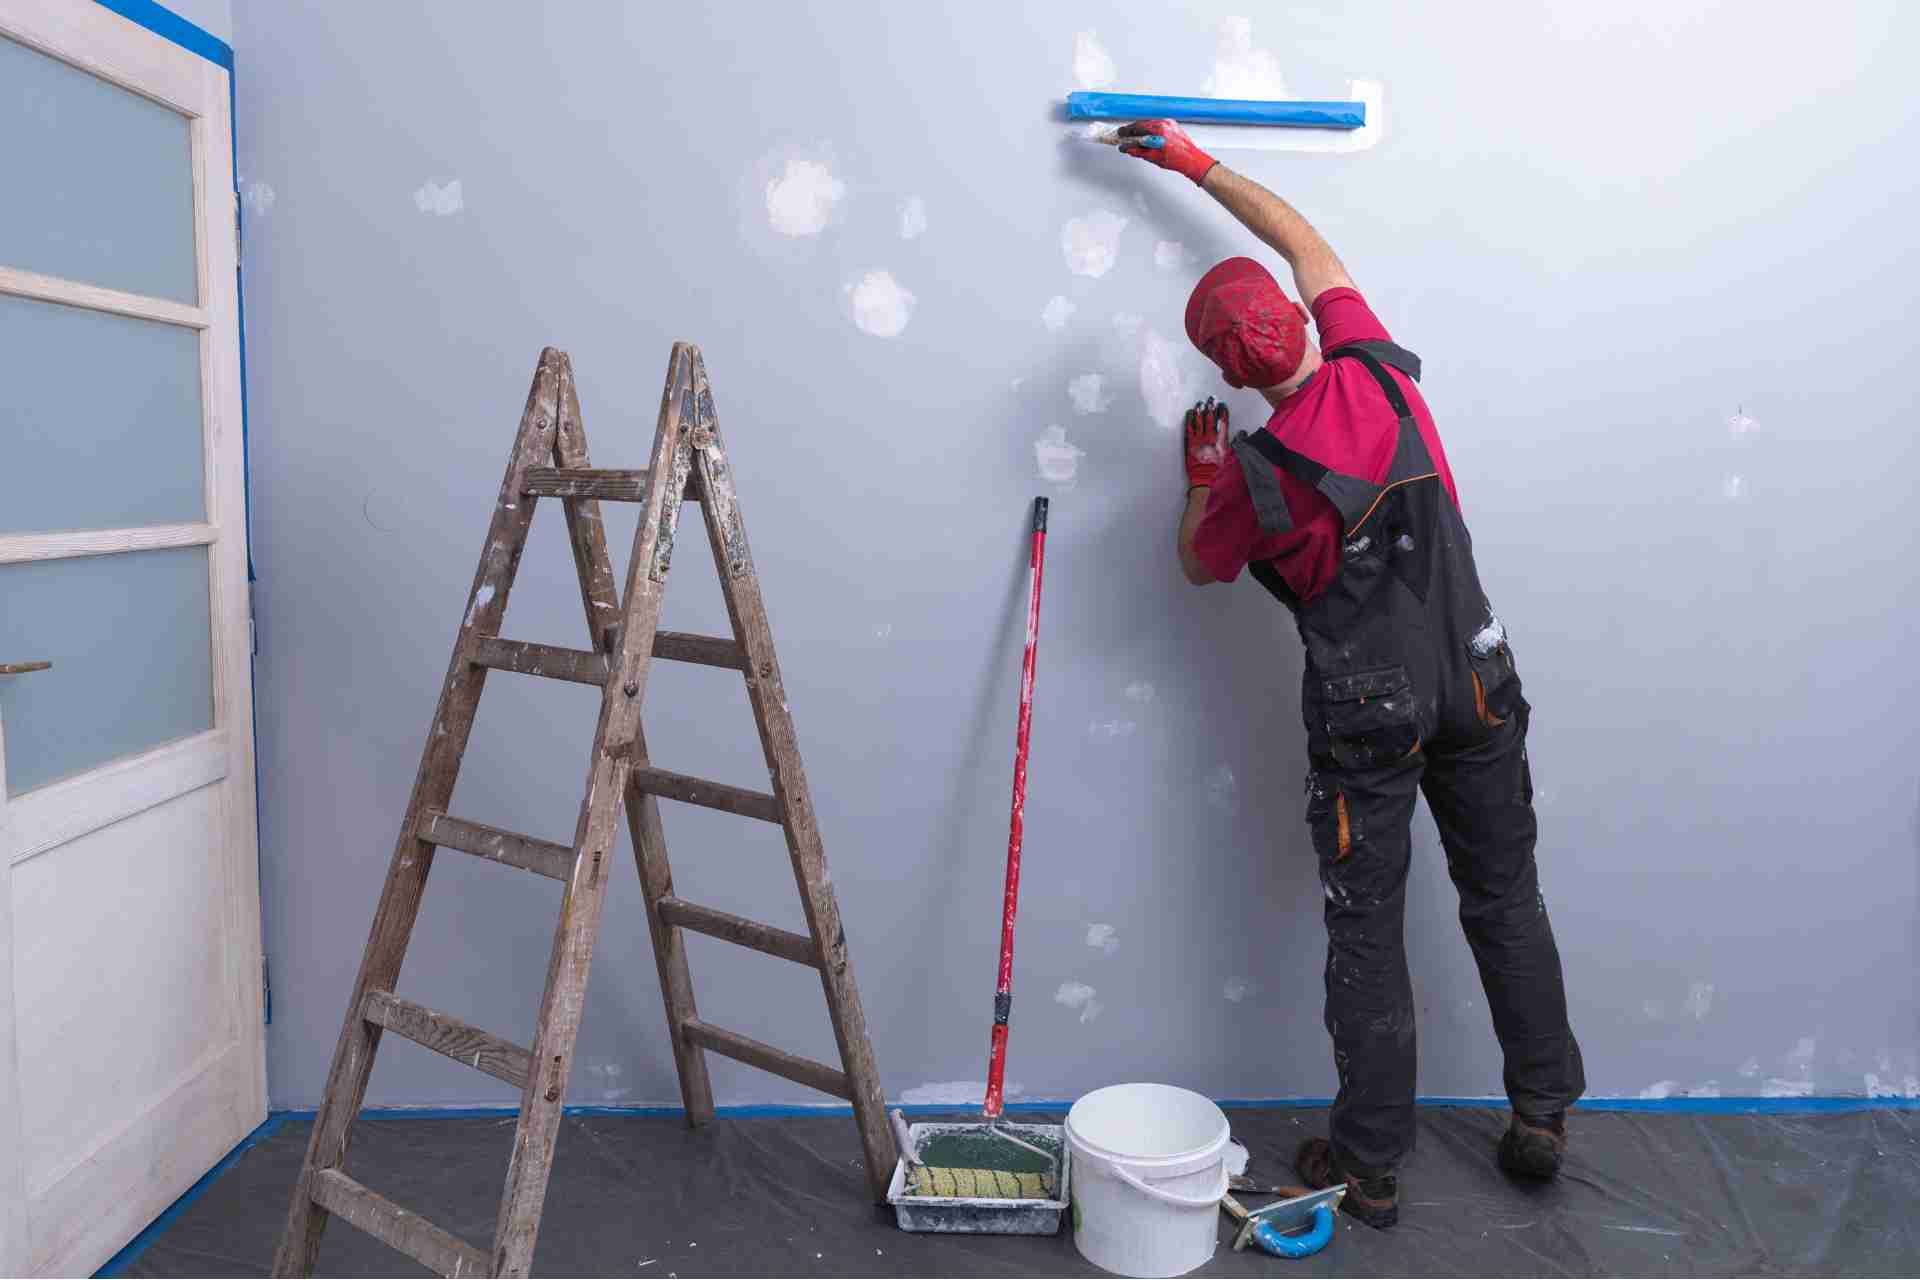
Start by applying a thin layer, focusing on the damaged area. Use smooth, even strokes to mimic the original finish. If you're using a roller, roll in the same direction as the existing paint for consistency.
Take your time and avoid rushing, as a careful approach leads to better results. Once you’ve covered the area, step back and assess your work before letting it dry completely.
Blending the New Paint
After applying the touch-up paint, the next step is blending it seamlessly with the surrounding area.
Start by using a clean, dry brush or a small roller, depending on the surface texture. Lightly feather the edges of the new paint into the existing paint to avoid harsh lines. If you're using a brush, use gentle strokes to mimic the original finish, while for a roller, apply light pressure to achieve an even texture.
If the paint is still wet, blend it immediately; if it dries, you may need to lightly sand the edges before repainting. Always step back and check your work from different angles to ensure a uniform appearance.
Patience is key—take your time for the best results.
Final Touches and Clean-Up
Once you've blended the new paint and allowed it to dry, it's time for the final touches and clean-up.
First, inspect your work for any missed spots or areas needing a second coat. If you spot any imperfections, grab your brush and touch them up right away.
After everything looks good, remove painter's tape carefully to avoid peeling off the fresh paint.
Next, clean your brushes and rollers with warm, soapy water if you used latex paint, or the appropriate solvent for oil-based paints.
Finally, put away all your supplies, and check for any paint drips on the floor or furniture. Wipe those up promptly to leave your space looking neat and polished.
Enjoy your refreshed interior!
Conclusion
By following these steps, you can easily touch up your interior paint and refresh your walls. Assess the damage, gather your supplies, and prep the area to ensure a smooth process. Remember to choose the right paint and apply it carefully for the best results. Blending the new paint is key to achieving a seamless finish. With a little effort, your walls will look as good as new, and you’ll enjoy a fresh and inviting space.