Sponge Glazing: What Makes it Different?
Sponge glazing is a unique technique that adds texture and depth to walls, furniture, and other surfaces. Unlike traditional painting methods, sponge glazing involves using a natural sponge to apply multiple layers of colored glaze to create a dimensional and variegated finish. This technique can produce stunning results and is popular for its ability to create a soft, organic look that adds warmth and richness to any space.
Let's explore the art of sponge glazing and discuss what makes it different from other painting techniques.
What Is Sponge Glazing?
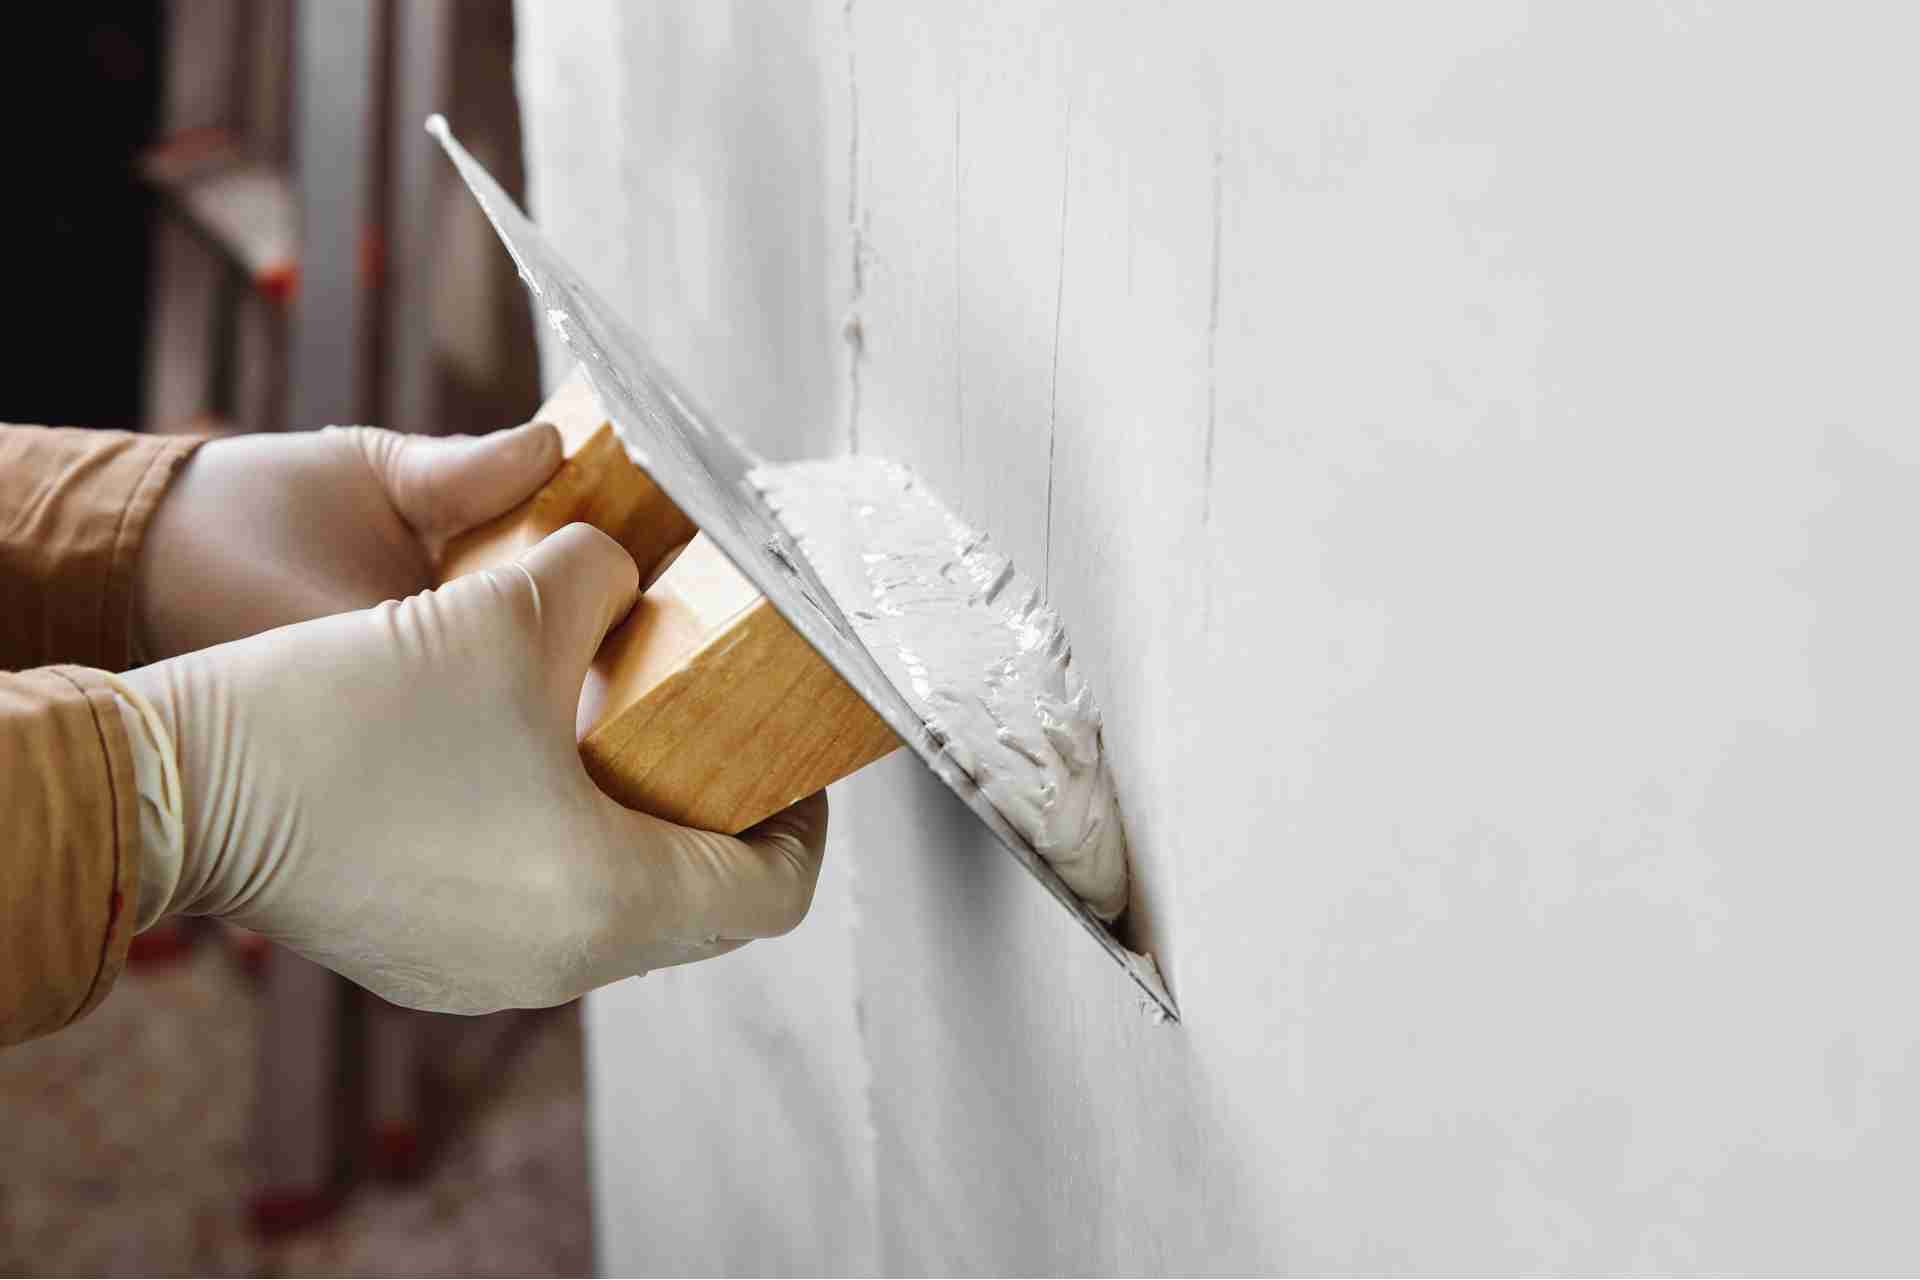
Sponge glazing is a decorative painting technique that involves applying a glaze to a surface using a sea sponge instead of a brush. The sponge creates a textured, mottled effect that can add depth and visual interest to walls, furniture, or other surfaces. This technique is often used to create a rustic or aged look, and can be done with various colors of glaze to achieve different effects. Sponge glazing is a popular choice for DIY home decor projects and can be easily customized to match different styles and color schemes.
What Makes Sponge Glazing Different?
This technique creates a textured, mottled effect that can mimic the look of natural stone, aged plaster, or other materials.
Some key differences that set sponge glazing apart from other painting techniques include:
1. Texture - Sponge glazing creates a textured finish that adds depth and dimension to a surface. The sponge creates a random pattern of color application, giving the painted surface a unique and organic look.
2. Versatility - Sponge glazing can be used on a variety of surfaces, including walls, furniture, and decorative objects. It can be customized to achieve a range of effects, from subtle and soft to bold and dramatic.
3. Ease of application - Sponge glazing is a relatively easy technique to master, making it accessible to DIY enthusiasts and professional painters alike. All you need is a sponge, glaze, and some basic painting tools to get started.
4. Blending - Sponge glazing allows for easy blending of colors, creating smooth transitions between different shades. This makes it ideal for creating a cohesive and harmonious color scheme in a room.
Creative Sponge Glazing Techniques
Sponge Monoprinting
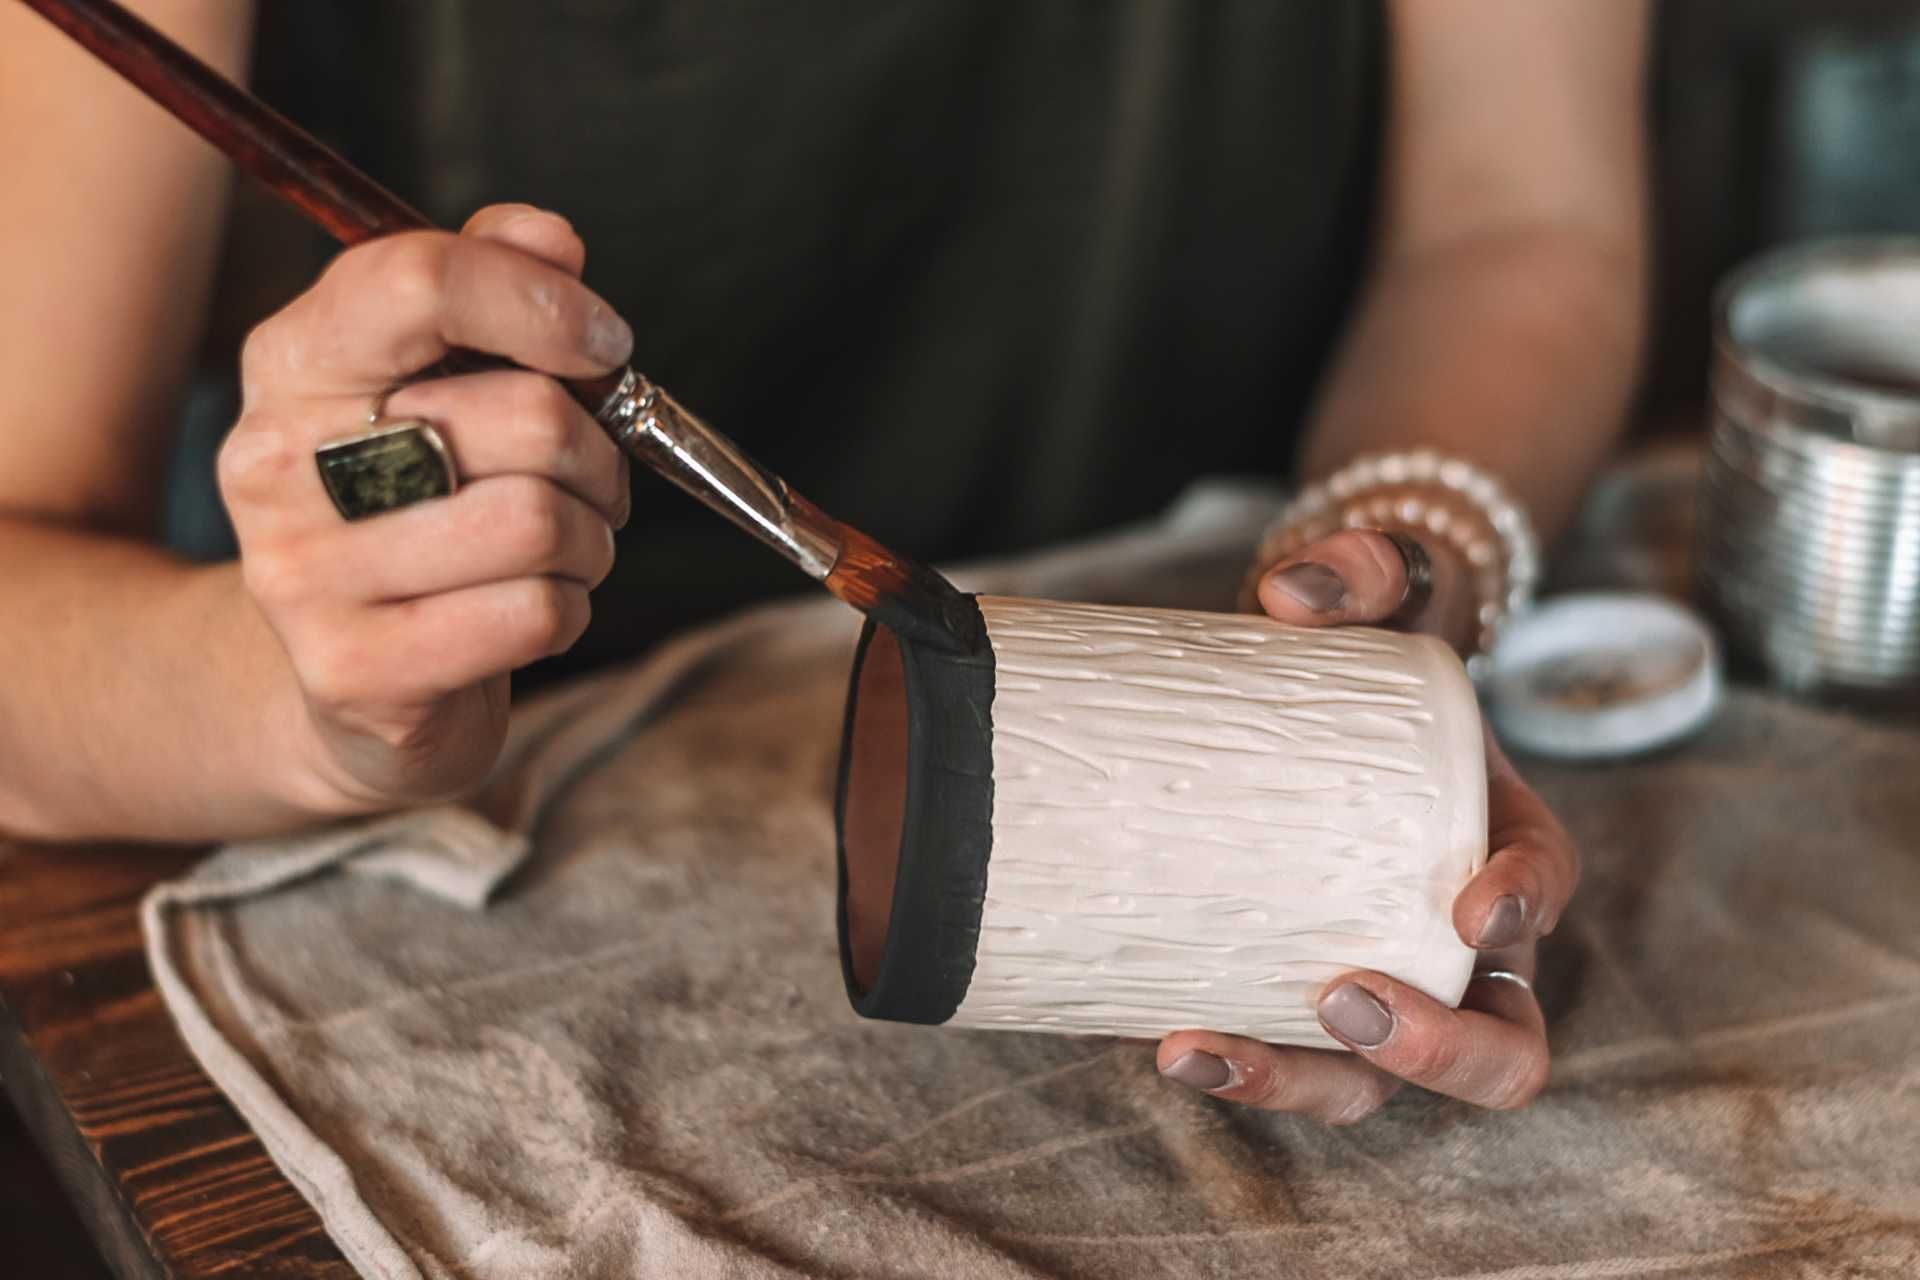
Dip a natural sponge in glaze and press it onto the surface of your ceramic piece, creating unique patterns and designs. You can also layer different colors of glaze for a more intricate look.
Sponge Stippling
Use a damp sponge to dab and stipple glaze onto your piece, creating a textured and dimensional effect. This technique works well for creating a faux stone or marble look.
Sponge Roller
Cut a sponge into a cylinder shape and attach it to a roller handle. Roll the sponge over your ceramic piece to apply a smooth and even layer of glaze. This technique is great for covering large areas quickly.
Sponge Dabbing
Dip a small sponge in different colors of glaze and dab it onto your piece in a random or patterned manner. This technique creates a speckled or mottled effect, adding visual interest to your piece.
Sponge Dragging
Dip a damp sponge in glaze and drag it across the surface of your ceramic piece in a controlled manner. This technique creates a smooth and streaked finish, perfect for achieving a rustic or weathered look.
Sponge Splattering
Dip a sponge in glaze and flick it onto your piece to create splattered or splattered effects. This technique adds a playful and dynamic element to your glaze application.
Sponge Resist
Apply a layer of wax resist to your ceramic piece before glazing. Use a sponge to apply glaze over the wax resist, then wipe away the glaze from the waxed areas to reveal the underlying clay. This technique creates a contrast between glazed and unglazed areas, adding depth and dimension to your piece.
Where does Sponge glazing can be used?
Sponge glazing can be used in various settings and on different surfaces, including:
1. Walls - Sponge glazing is commonly used on interior walls to create a textured, multi-dimensional finish.
2. Furniture - Sponge glazing can also be used on furniture, such as tables, chairs, and cabinets, to add depth and character to the piece.
3. Pottery - Sponge glazing can be used on pottery to create unique and colorful designs.
4. Tiles - Sponge glazing can be used on tiles to create a decorative finish, often seen in kitchens and bathrooms.
5. Paper - Sponge glazing can be used on paper for crafts and art projects, creating interesting textures and patterns.
Process of sponge glazing
- Prepare the surface
Make sure the surface is clean, dry, and free of any dust or debris. If necessary, apply a base coat of paint or primer and allow it to dry completely.
- Mix the glaze
Mix your desired color of glaze according to the manufacturer's instructions. You can use a clear glaze and add a small amount of paint to achieve your desired color.
- Apply the glaze
Dip a natural sea sponge or synthetic sponge into the glaze, making sure to blot off any excess on a paper towel. Lightly dab the sponge onto the surface in a random or swirling motion, working in small sections at a time. Be sure to overlap your sponge marks for a seamless finish.
- Layer the glaze
Allow the first layer of glaze to dry completely before applying additional layers for more depth and dimension. You can vary the color of the glaze or use different sponges to create a more textured look.
- Blend and soften
To soften the appearance of the sponge marks and create a more cohesive finish, lightly mist the surface with water and use a clean, damp sponge to blend and smooth out any harsh edges or lines.
- Finish and seal
Once you are satisfied with the look of the sponge glaze, allow it to dry completely before applying a coat of clear sealer or varnish to protect the finish and give it a professional look.
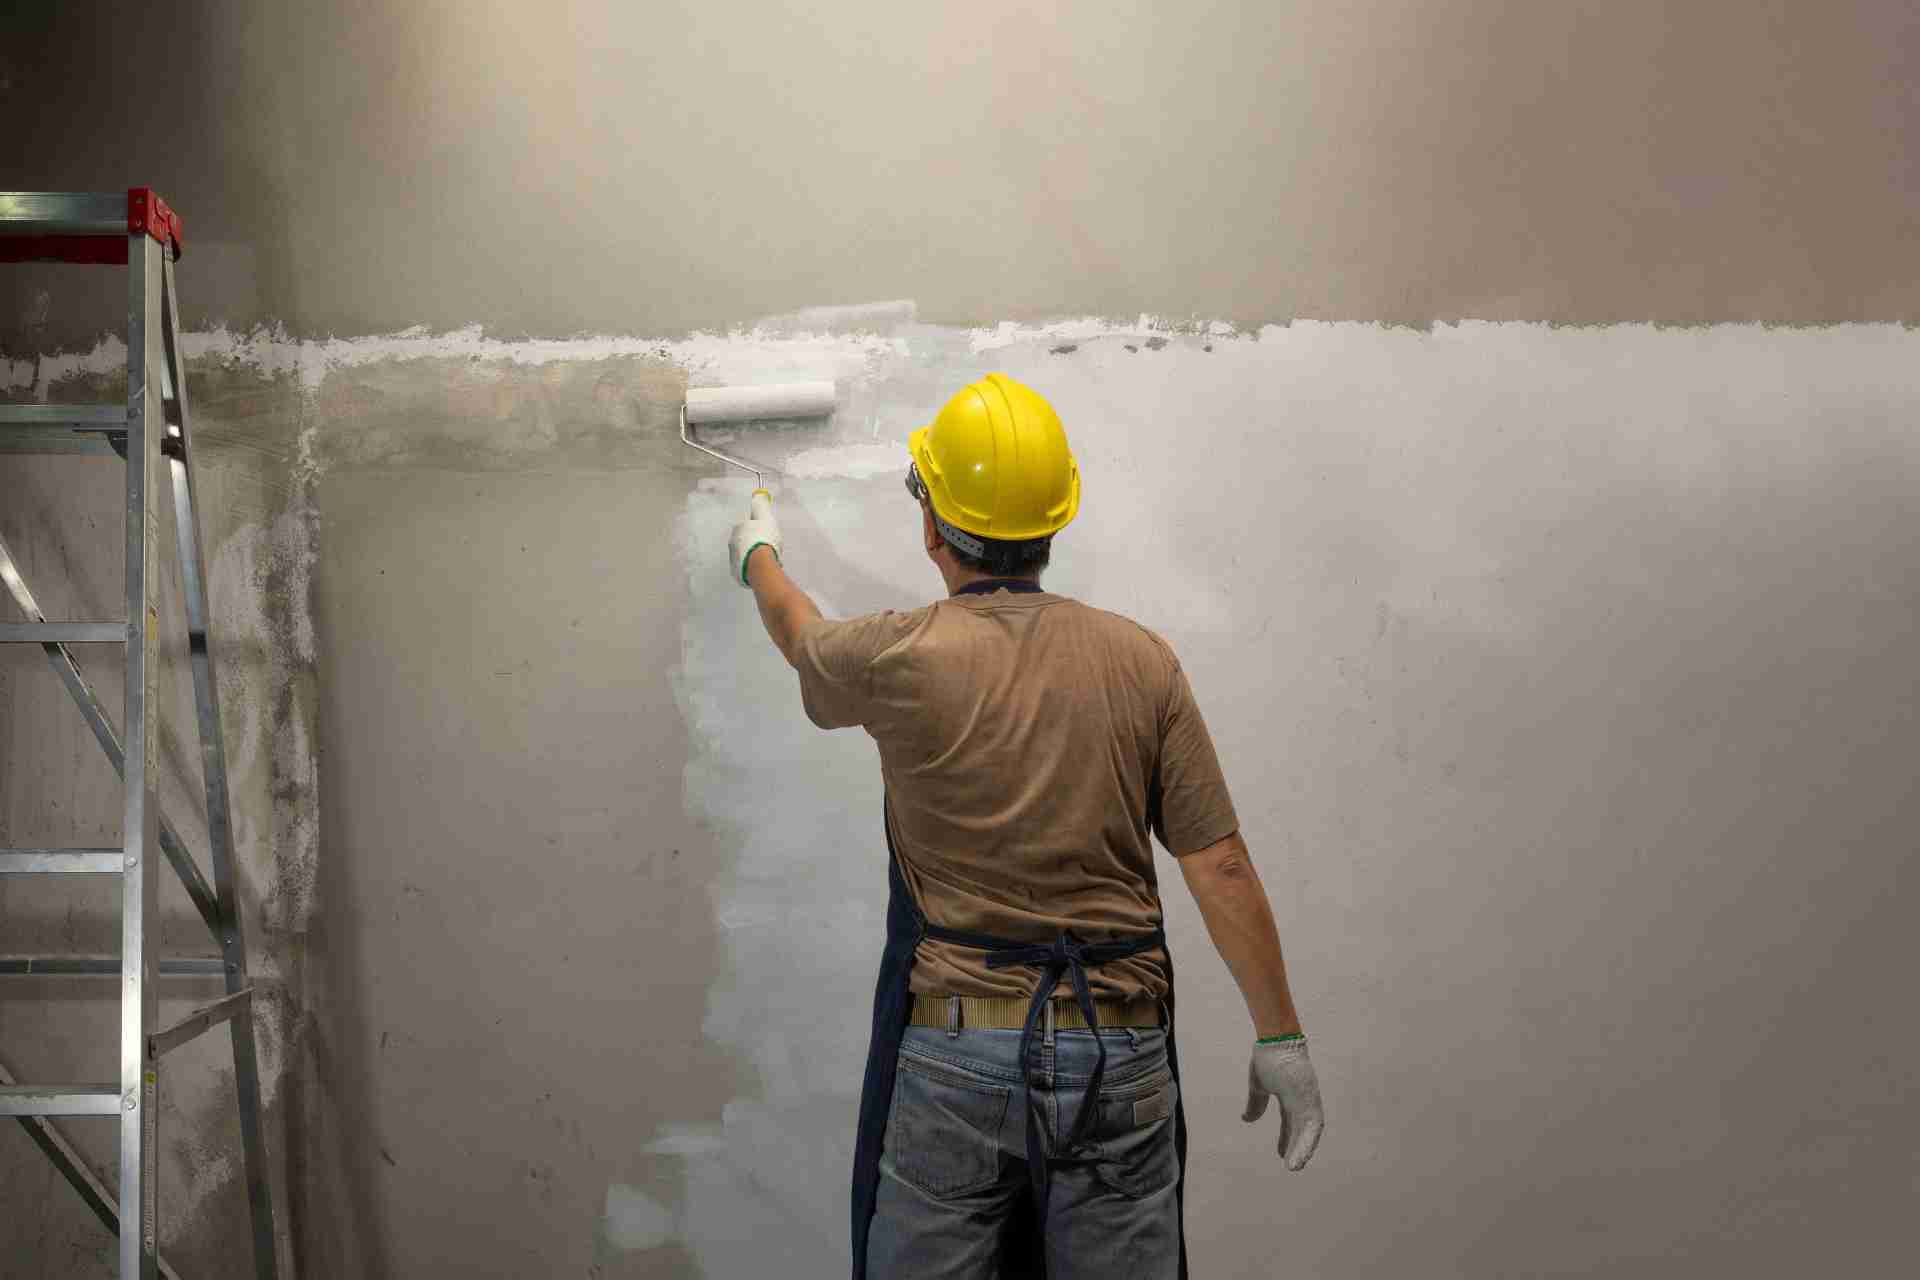
Get Help from Pine Tree Painting
Hire Pine Tree Painting for professional sponge glazing services! Our team of skilled painters will use specialized sponges and techniques to create a beautiful, one-of-a-kind finish on your walls.
Contact Pine Tree Painting today to schedule a consultation and get started on transforming your space!