Fence Painting Preparation: Essentials Steps to Take
As the weather starts to warm up, many homeowners are turning their attention to sprucing up their outdoor spaces.
If you're looking to freshen up the look of your property, one of the most cost-effective ways to do so is by painting your fence. A fresh coat of paint can not only improve the aesthetics of your fence but also protect it from the elements and prolong its lifespan. However, before you grab a paintbrush and start slapping on the paint, it's important to properly prepare your fence to ensure a smooth and long-lasting finish.
Here are some essential steps to take for fence painting preparation before you start painting your fence.
Clean the Surface
Before you can start painting, it's important to make sure the surface of your fence is clean and free of any dirt, grime, or mildew.
Here are a few tips to help you properly clean the surface of your fence before painting:
1. Start by giving your fence a thorough inspection. Look for any signs of damage, such as peeling paint, rotting wood, or loose boards, and address these issues before you start cleaning. It's much easier to make repairs now than after you've already painted.
2. Next, remove any plants, furniture, or other items that may be in the way. This will give you plenty of room to work and ensure that you don't accidentally get paint on anything you don't want to.
3. Use a pressure washer or a garden hose with a high-pressure nozzle to remove dirt and grime from the surface of your fence. Start at the top and work your way down, moving in a sweeping motion to cover the entire surface. Be sure to use a mild detergent or a specialized fence cleaner to help loosen stubborn stains and debris.
4. For tough stains or mold, you may need to scrub the surface with a stiff-bristle brush or use a bleach solution to kill any mold spores. Just be sure to follow the manufacturer's instructions and wear protective gear, such as gloves and goggles, to keep yourself safe.
5. Once you've finished cleaning, rinse the surface thoroughly with clean water to remove any soap residue or debris. Allow the fence to dry completely before you start painting to ensure that the paint adheres properly.
Sanding
One of the main reasons why sanding is important before painting your fence is to create a smooth and clean surface for the paint to adhere to. Over time, fences can become weathered and develop rough patches or peeling paint. By sanding these imperfections away, you are ensuring that your new paint job will look sleek and professional.
Sanding also helps to remove any dirt, grime, or mold that may have built up on your fence. This not only improves the appearance of your fence but also helps to prolong the life of the paint job. If you were to paint over these contaminants, the paint would not adhere properly and could result in a patchy and uneven finish.
Additionally, sanding allows you to identify any areas of your fence that may require extra attention before painting. It can help you to uncover any rotting or damaged wood that needs to be repaired before applying a fresh coat of paint. By addressing these issues early on, you can prevent further damage and ensure that your fence remains in good condition for years to come.
When it comes to sanding your fence, there are a few things to keep in mind. Make sure to use the right type sandpaper for the job - a medium-grit sandpaper is usually best for fences. Sand in the direction of the wood grain to avoid creating any scratches or marks on the surface. And be sure to thoroughly clean the fence after sanding to remove any dust or debris before painting.
Repair Any Damage
One crucial step that should not be overlooked is repairing any existing damage before painting your fence.
Painting over damaged areas will only exacerbate the problem in the long run. In fact, any cracks, holes, or rot on your fence will only continue to worsen if left untreated. This can result in costly repairs down the line, not to mention a less-than-perfect finish on your freshly painted fence.
Additionally, fixing any damage before painting will ensure that your fence is structurally sound and able to withstand the elements. By properly addressing any issues beforehand, you can prolong the lifespan of your fence and prevent any further damage from occurring.
Here are some common issues that may need to be repaired before painting your fence:
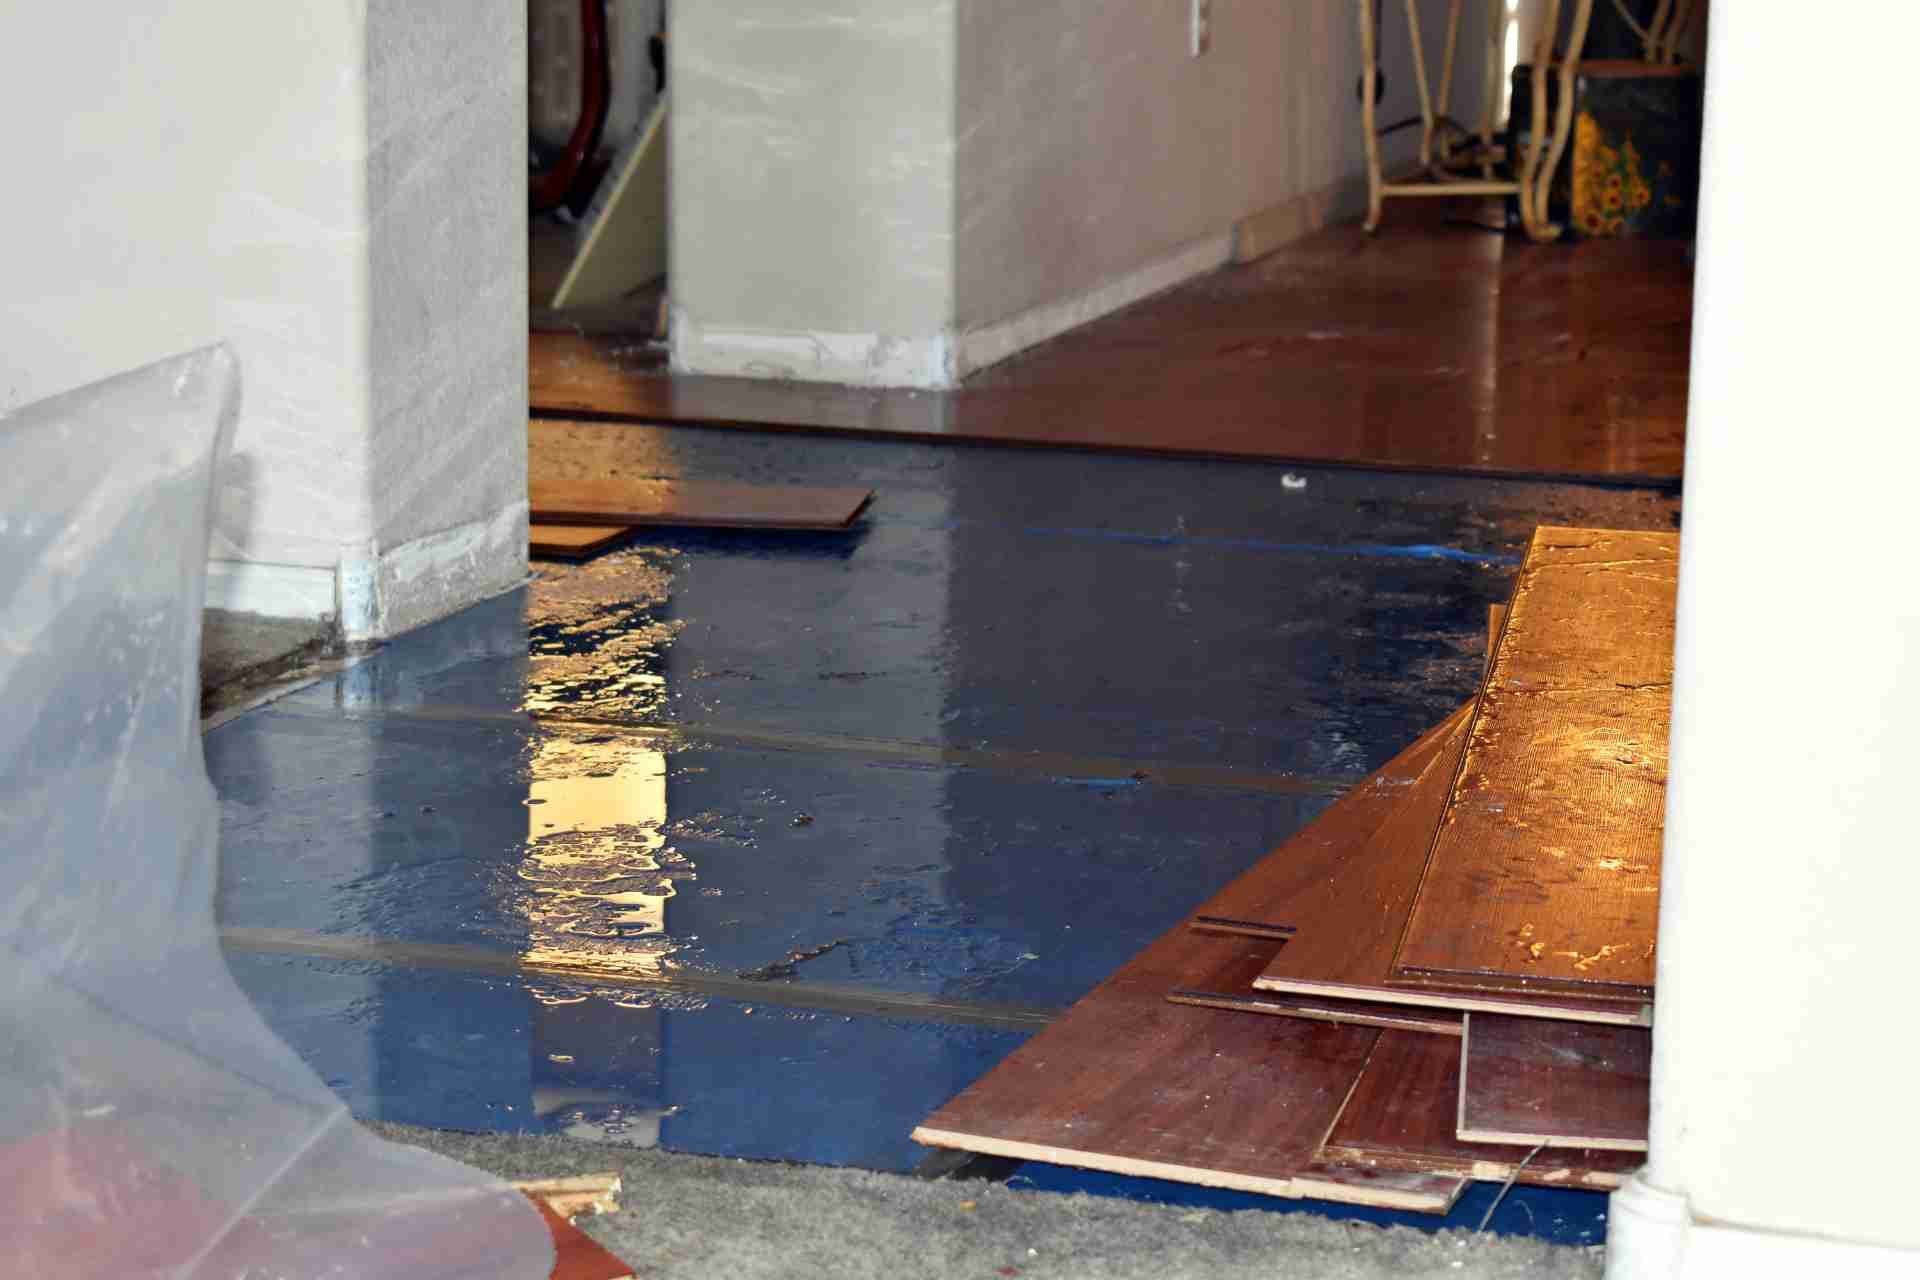
- Rot:
If you notice any signs of rot on your fence, such as soft or crumbling wood, it is essential to replace these areas before painting. Rot can compromise the integrity of your fence and lead to further decay if not addressed promptly.
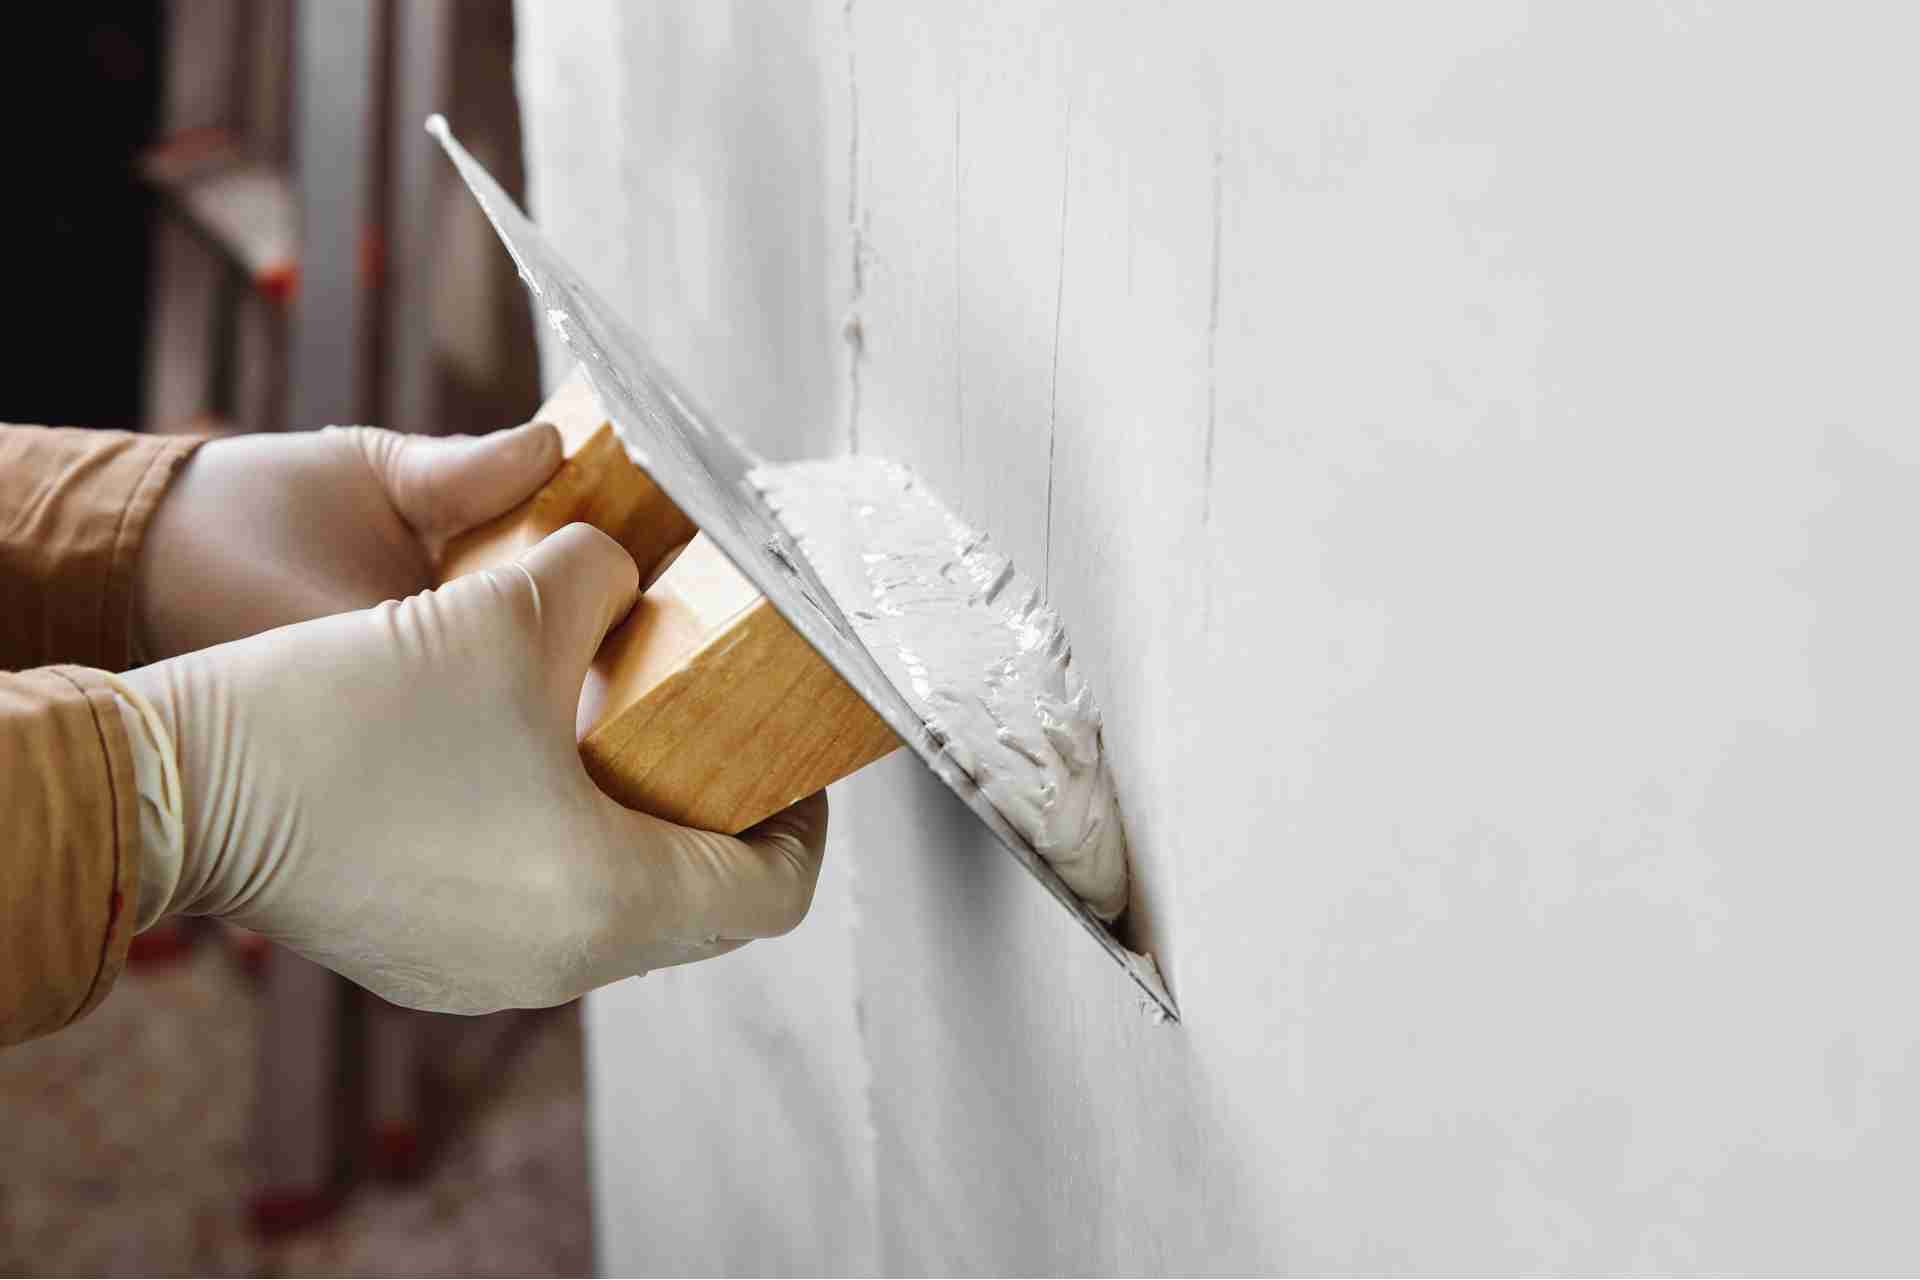
- Cracks and holes: Small cracks or holes in your fence may seem insignificant, but they can allow moisture to seep in and cause the wood to deteriorate over time. By filling in these areas with wood putty or epoxy, you can prevent any future damage and create a smooth surface for painting.
- Loose or missing boards: If any boards on your fence are loose or missing, it is crucial to secure them back in place or replace them entirely. Ignoring this issue can create weak spots in your fence and compromise its stability.
Protect Your Surroundings
- Cover nearby plants and surfaces: Before you start painting, make sure to cover any nearby plants, flowers, or other surfaces that you don't want to get paint on. Use plastic drop cloths or newspapers to protect these areas from overspray or drips.
- Remove any outdoor furniture or decor: If you have any outdoor furniture, decorations, or fixtures near your fence, it's a good idea to move them out of the way before you start painting. This will help prevent any accidental splatters or drips from ruining your belongings.
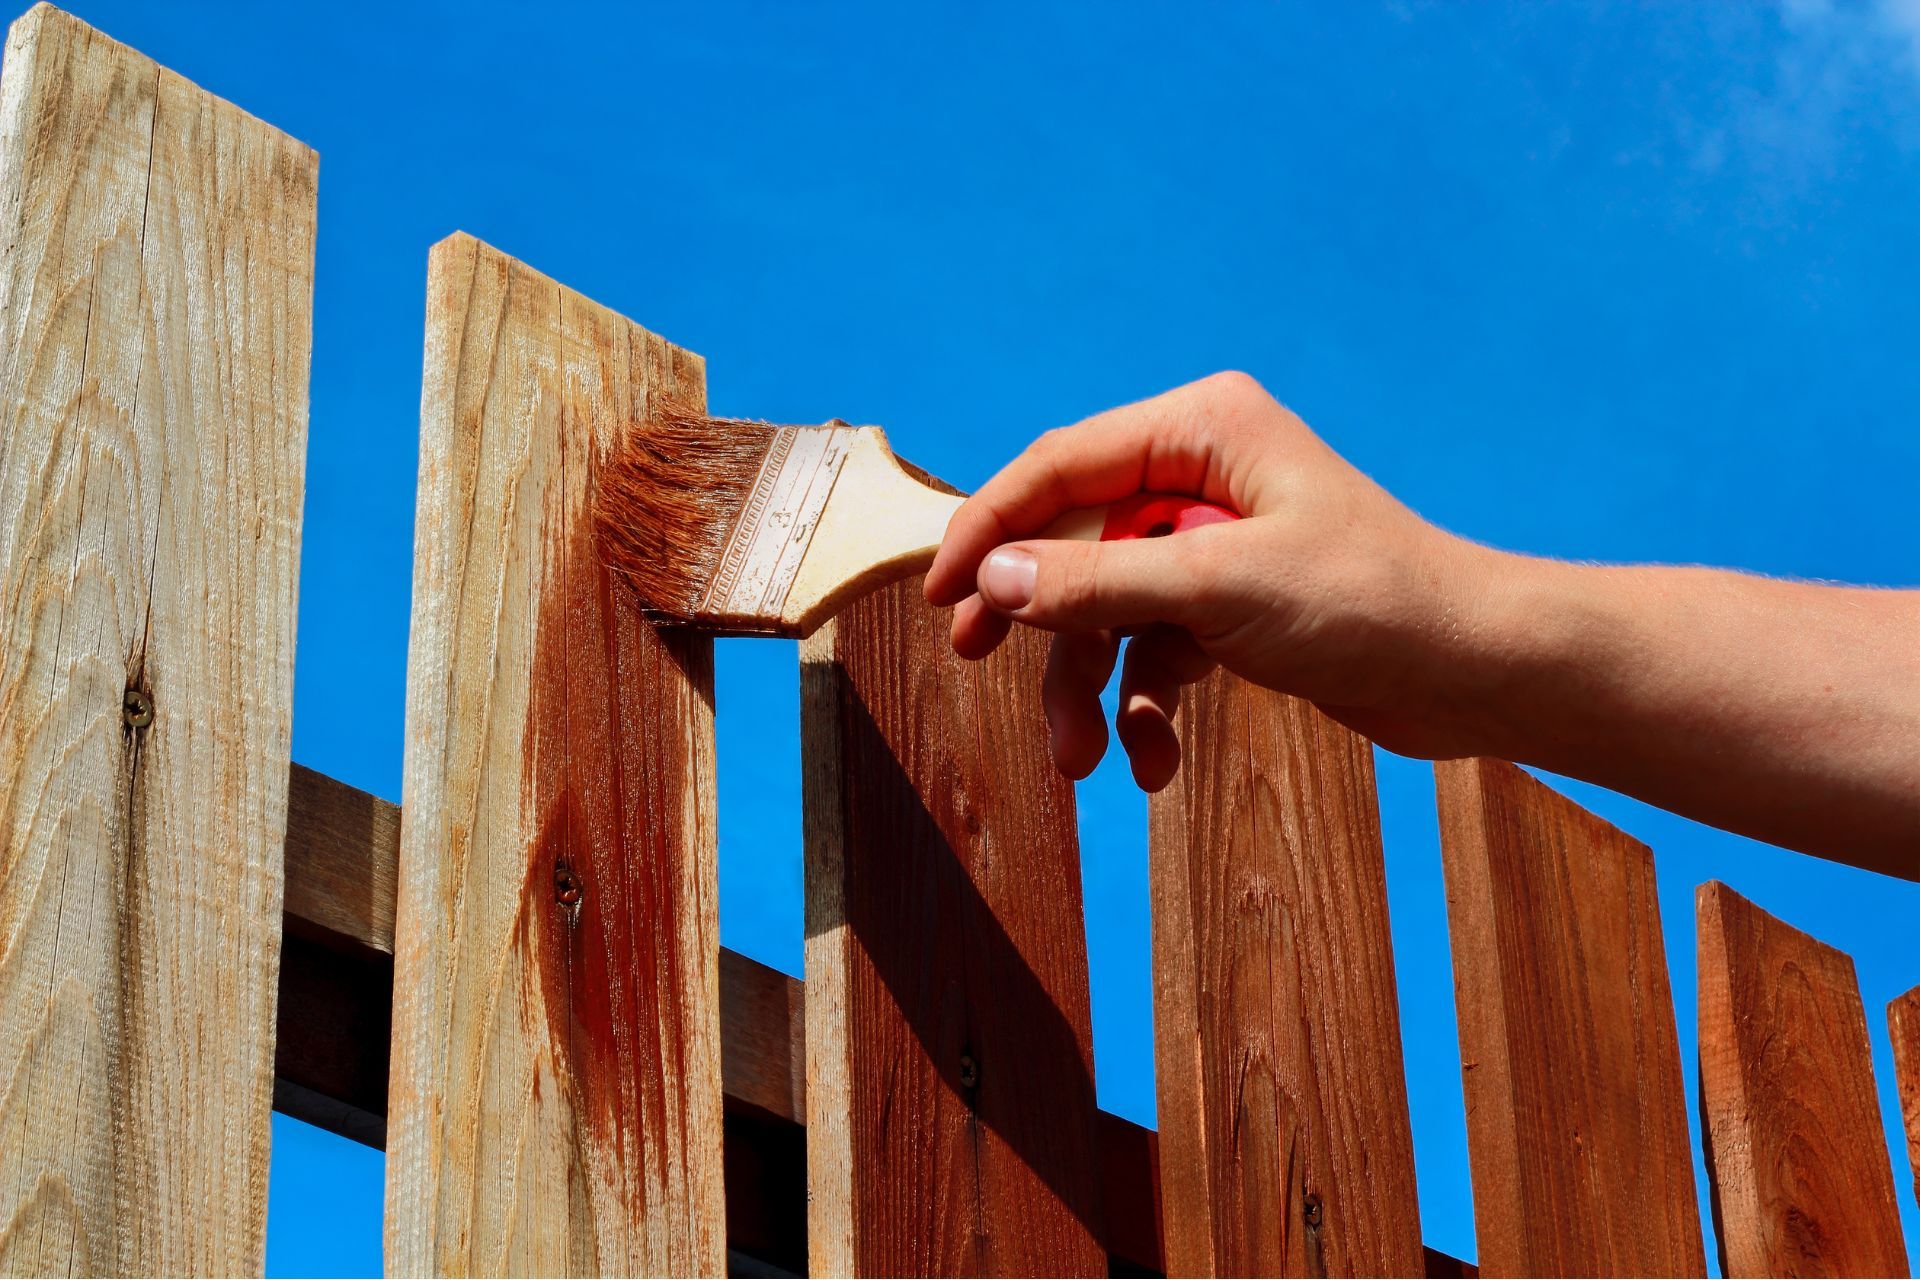
- Use a brush for precise application: To avoid getting paint on unintended areas, it's best to use a brush for precise application. A brush will allow you to control the amount of paint you apply and help you avoid overspray.
- Use a high-quality fence paint: Investing in a high-quality fence paint can help protect your fence from the elements and ensure a long-lasting finish. Look for a paint that is specifically formulated for outdoor use and is resistant to fading, chipping, and peeling.
- Allow for proper drying time: Once you've finished painting your fence, make sure to allow for proper drying time before touching or leaning against the fence. This will help prevent any smudges or smears and ensure a smooth, even finish.
Prime the Surface
Priming the surface of your fence before painting is important for several reasons. First and foremost, primer helps to create a smooth and even surface for the paint to adhere to. This can help to prevent any blotchy or uneven patches in the final paint job. Primer also helps to seal the wood and protect it from moisture, which can cause the paint to peel or chip over time.
Another benefit of priming your fence before painting is that it can help to prolong the life of your paint job. By creating a barrier between the wood and the paint, primer can help to prevent the paint from fading or chipping due to exposure to the elements. This can save you time and money in the long run, as you won't have to repaint your fence as often.
When priming your fence, be sure to choose a primer that is specifically designed for outdoor use and is compatible with the type of paint you plan to use. You can find a wide variety of primers at your local home improvement store, so be sure to ask for recommendations if you're not sure which one to use.
Choose the Right Paint
When selecting paint for your fence, there are a few key factors to consider. First and foremost, it's important to choose a paint that is specifically designed for outdoor use. Outdoor paints are formulated to withstand UV rays, moisture, and temperature fluctuations, ensuring that your fence remains looking fresh and vibrant for longer.
In addition to choosing an outdoor paint, it's also important to consider the type of material your fence is made of. Different materials, such as wood, metal, or vinyl, may require specific types of paint to adhere properly and provide lasting protection. For example, wood fences may benefit from a stain or sealant to protect against rot and insect damage, while metal fences may require a rust-inhibiting primer before painting.
Another important consideration when choosing paint for your fence is the color. While it may be tempting to go with a bold or trendy color, it's important to remember that your fence is a permanent fixture in your outdoor space. Opting for a neutral or classic color that complements the style of your home and landscaping can help ensure that your fence remains timeless and cohesive with your overall aesthetic.
Don't forget to consider the finish of the paint. Matte finishes can provide a more natural look and are less likely to show imperfections, while glossy finishes can add a level of sophistication and are generally easier to clean. Ultimately, the finish you choose will depend on your personal preference and the specific look you're trying to achieve.
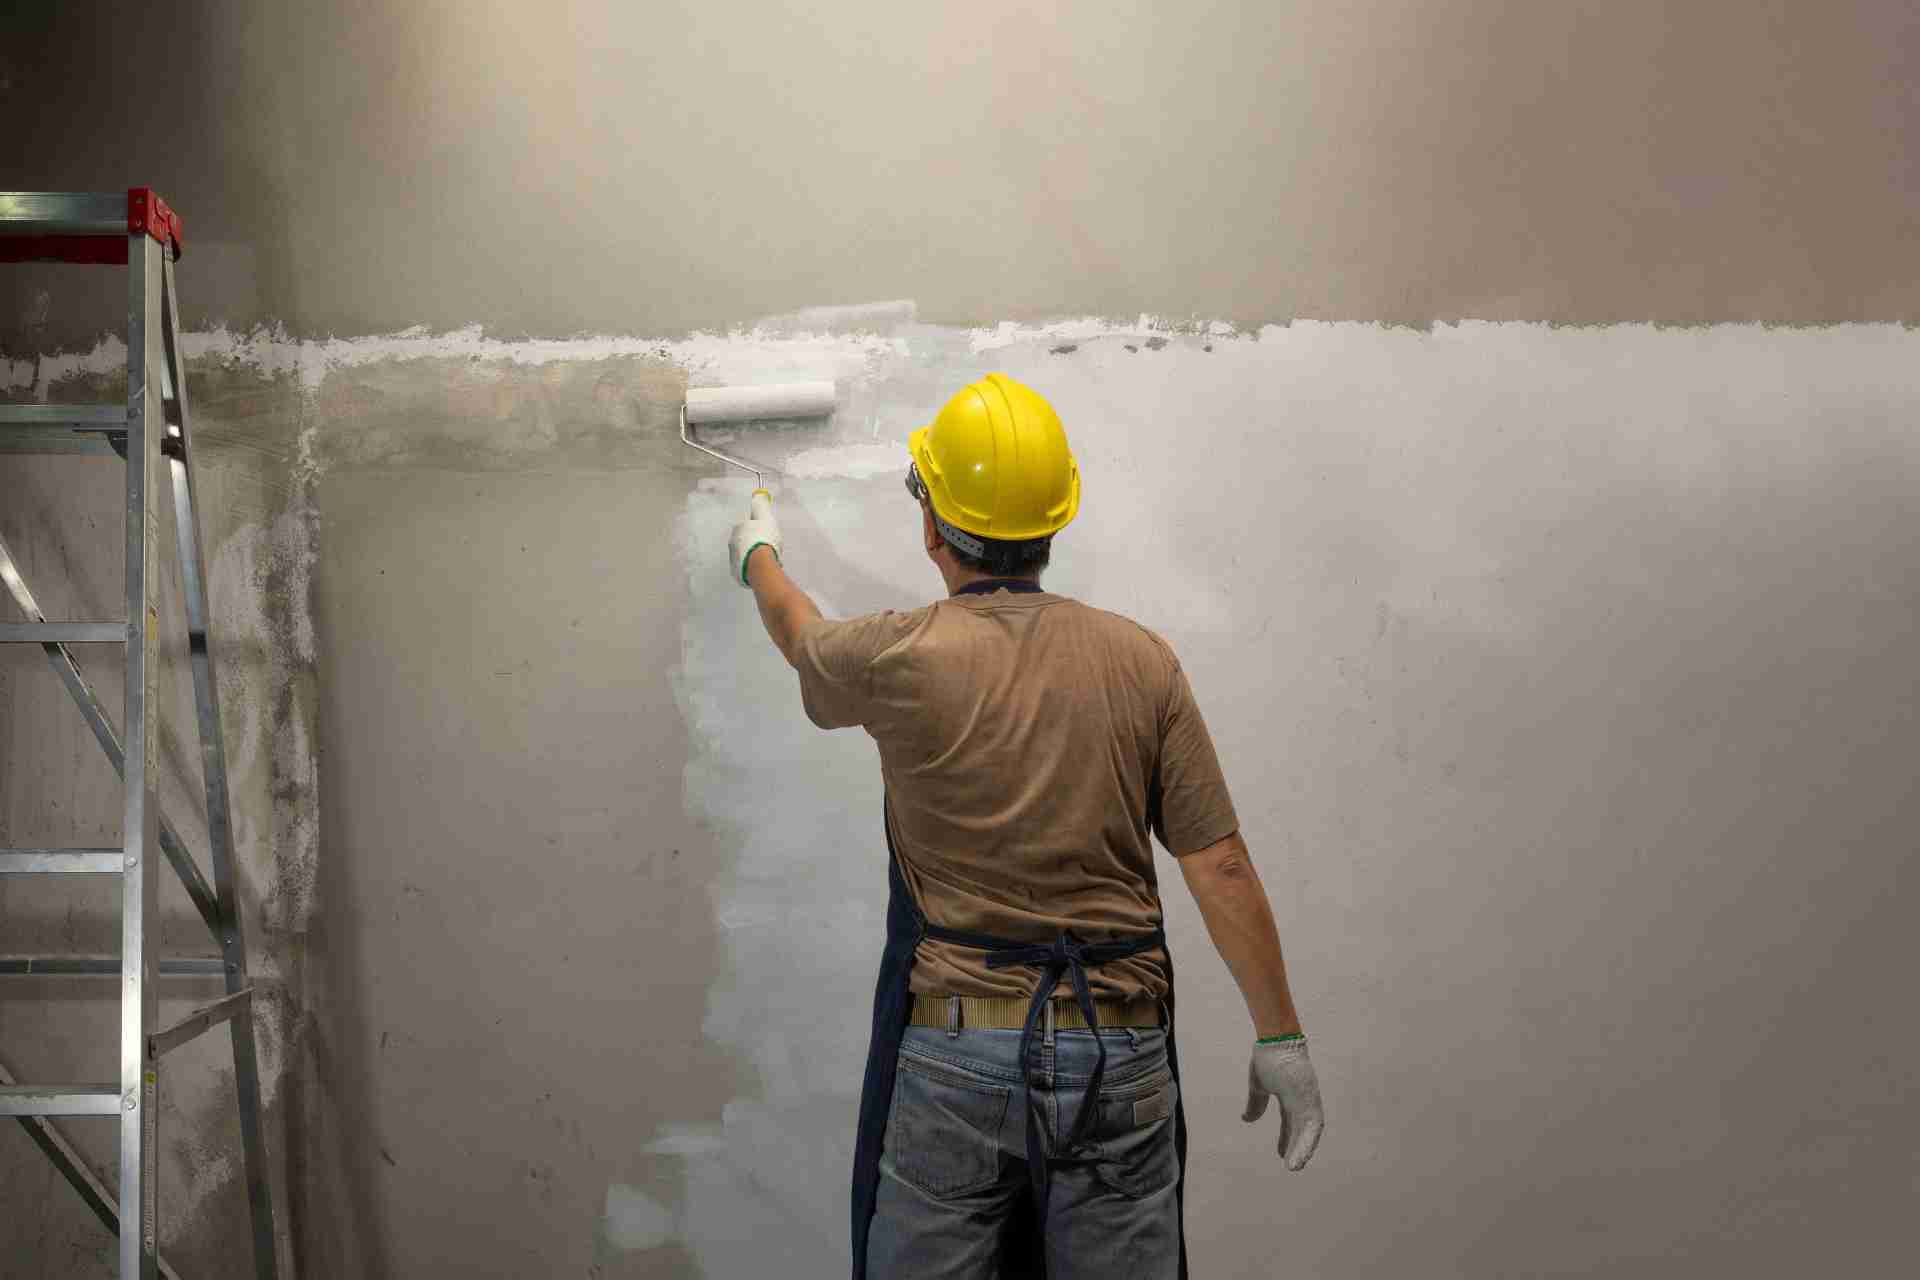
Apply the Paint
Once you've completed all of the necessary preparation steps, it's time to start painting your fence.
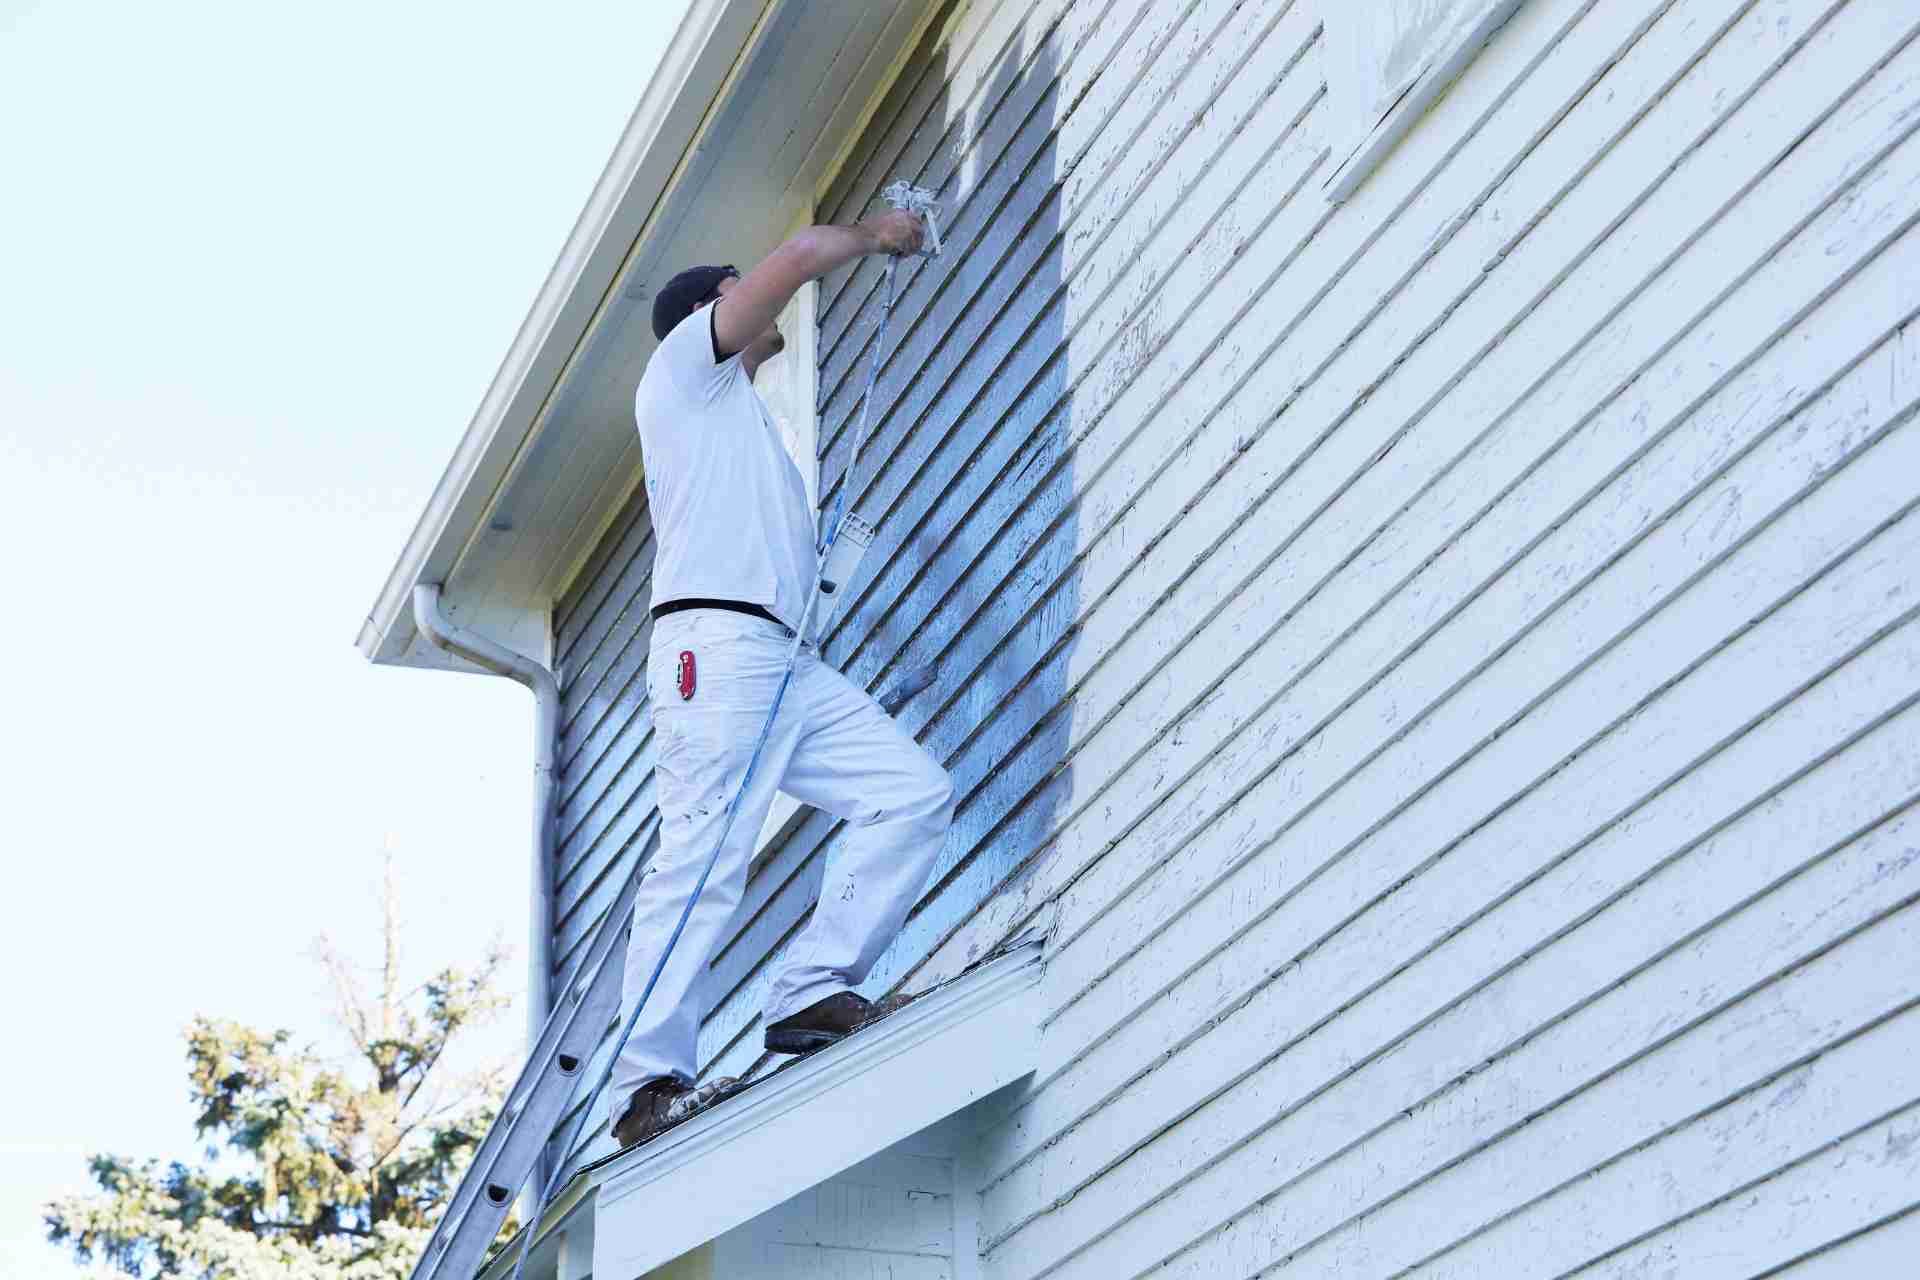
When it comes to applying the paint to your fence, there are a few different methods you can use. You can use a paint sprayer for more even coverage, or you can opt to use a paintbrush or a roller for a more controlled application. Whichever method you choose, be sure to apply the paint evenly and work in small sections to ensure that you don't miss any spots.
It's also important to apply multiple coats of paint to ensure that the color is evenly distributed and that the wood is properly protected. Allow each coat to dry completely before applying the next coat. Depending on the type of paint you're using, you may need to apply a primer coat before applying the final color.
Once you've finished painting your fence, be sure to properly clean up any paint drips or spills on surrounding surfaces. It's also a good idea to touch up any areas that may have been missed during the initial painting process.
Let Pine Tree Painting Handle your Fence Painting Project
A freshly painted fence can instantly boost curb appeal and give your outdoor space a polished look. However, fence painting can be a time-consuming and tedious task, especially if you have a large fence or intricate design.
That's where Pine Tree Painting comes in. With our professional fence painting services, we can handle your fence painting project quickly and efficiently, leaving you with a beautifully painted fence that will enhance the overall look of your property. Our team of experienced painters has the skills and expertise to tackle any fence painting job, no matter the size or scope.
When you choose Pine Tree Painting for your fence painting project, you can expect nothing but the best quality results. We use high-quality paints that are durable and long-lasting, ensuring that your freshly painted fence will look great for years to come. Our painters pay careful attention to detail, ensuring that every inch of your fence is painted evenly and thoroughly.
Contact us today to schedule your fence painting project and see the difference that professional painting can make.